Homemade Dog Cone: 5 Easy DIY Ideas That Actually Help Dogs Heal
Written By:
The first time my dog needed a cone after a skin infection, I quickly realized how much he hated the hard plastic collar from the vet. He bumped into walls, struggled to sleep, and refused to eat comfortably. That experience pushed me to try softer homemade dog cone ideas using things I already had at home.
Some DIY options worked surprisingly well, especially for mild injuries and short-term recovery. Others failed within minutes because my dog could still reach the wound. After testing different methods over the years, I learned that comfort matters just as much as protection.
In this guide, I’ll share simple homemade dog cone ideas that are affordable, easy to make, and more comfortable for many dogs than traditional plastic cones. I’ll also explain when a DIY cone is enough and when it’s safer to use a professional recovery collar instead.

Quick Summary and Key Takeaways
- A homemade dog cone can help stop licking, scratching, and biting wounds
- Soft DIY cones are often more comfortable than plastic e-collars
- Towel wraps and pillow collars work best for mild recovery situations
- The cone should extend slightly past your dog’s nose
- Always supervise your dog when testing a homemade cone
- Serious injuries still require a vet-approved medical cone
- Comfort, proper fit, and safety matter more than appearance
What Is a Dog Cone?

A dog cone, often called an Elizabethan collar or e-collar, is designed to stop dogs from reaching injured areas on their body. Dogs naturally lick wounds because it soothes irritation, but excessive licking can reopen cuts, slow healing, and introduce bacteria.
Most vets recommend cones after surgery, hot spots, ear infections, or skin allergies. While traditional plastic cones work well, many dogs struggle with them because they limit movement and create stress.
That’s why homemade dog cone alternatives have become popular among pet owners looking for a softer option.
When Does a Dog Need a Cone?
Not every scratch requires a cone, but there are situations where preventing licking becomes very important.
Here are the most common reasons dogs need one:
- After spay or neuter surgery
- Skin infections or rashes
- Hot spots
- Paw injuries
- Stitches or healing wounds
- Allergies causing constant licking
- Ear injuries that trigger scratching
I’ve noticed that even small wounds can become much worse overnight if a dog keeps licking them. One of my dogs turned a tiny irritation into a large raw patch within two days simply because he wouldn’t leave it alone.
Why Choose a Homemade Dog Cone?

More Comfortable for Dogs
Most dogs tolerate soft materials better than hard plastic. Homemade cones usually allow easier sleeping, eating, and walking around the house.
Budget-Friendly Option
You can make many DIY dog cones using towels, foam, pillows, or old shirts already sitting in your home. That saves money, especially if you only need a temporary solution.
Less Stress During Recovery
A softer cone often reduces anxiety. Some dogs panic when wearing stiff plastic collars because they restrict vision and bump into furniture constantly.
What to Consider Before Making a DIY Cone

Proper Size Matters
This is the biggest mistake I see people make. If the cone is too short, your dog can still reach the wound.
A good rule is that the cone should extend slightly beyond the nose.
Make Sure It Fits Securely
The cone should stay in place without choking your dog. You should comfortably fit two fingers between the collar and neck.
Use Safe Materials
Avoid anything with sharp edges, staples, rough plastic, or materials that can overheat your dog.
Soft but supportive materials work best.
5 Easy Homemade Dog Cone Ideas
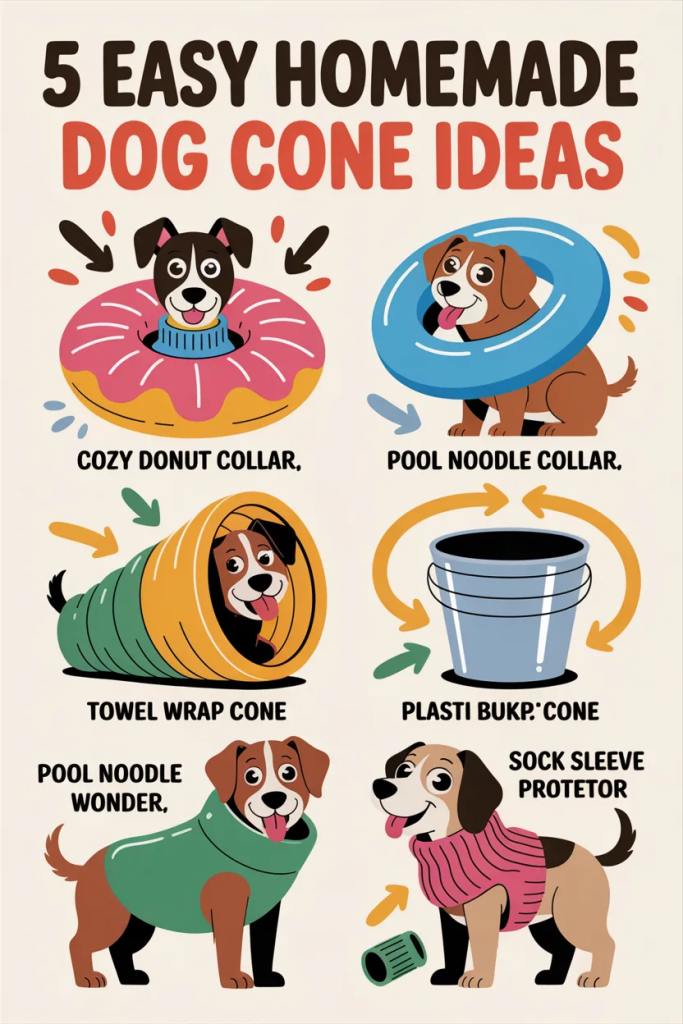
1. Towel Dog Cone
A towel cone is one of the fastest DIY solutions and surprisingly effective for calm dogs.
What You Need
- Soft hand towel
- Tape, clips, or Velcro
How I Make It
I roll the towel lengthwise until it forms a thick tube. Then I wrap it around my dog’s neck like a travel pillow and secure it gently.
Why It Works
The towel limits neck flexibility, making it harder for dogs to bend toward wounds. It’s especially useful for shoulder or upper-body injuries.
Pro Tip
Use a microfiber towel because it stays lightweight and dries quickly if it gets wet.
2. Pillow Collar Cone

This is probably the most comfortable homemade dog cone I’ve tried.
What You Need
- Small pillow or neck pillow
- Fabric cover
- Straps or Velcro
How to Make It
Wrap the pillow around the neck and secure it comfortably so it stays snug without slipping.
Why It Works
It acts similarly to inflatable recovery collars sold in pet stores. Dogs can sleep much better with this option compared to plastic cones.
Best For
- Smaller dogs
- Calm dogs
- Mild injuries
3. Cardboard Cone
If you need stronger protection quickly, cardboard works well temporarily.
What You Need
- Flexible cardboard
- Scissors
- Tape
How to Make It
Cut the cardboard into a curved shape, roll it into a cone, and tape it securely.
Why It Works
This homemade dog cone closely mimics the traditional e-collar shape and blocks access more effectively than soft options.
Common Mistake
Don’t use stiff heavy cardboard. Thick material can rub the neck and make movement uncomfortable.
4. T-Shirt Cone Alternative
This option works differently because it covers the body instead of blocking the neck.
What You Need
- Old T-shirt
- Safety pins or knots
How I Use It
I slide the shirt onto my dog and tie it gently around the body so the injured area stays covered.
Why It Works
For stomach wounds or hot spots on the torso, this can completely stop licking without needing a cone at all.
Best Use Cases
- Post-surgery belly wounds
- Skin irritation
- Dogs that hate cones
5. Foam Cone
Pillow Collar Cone

Foam gives a nice balance between structure and comfort.
What You Need
- Craft foam sheet
- Velcro strips
- Soft fabric lining
How to Make It
Cut the foam into a cone shape, wrap it around the neck, and secure it with Velcro.
Why It Works
It holds shape better than towels while staying softer than hard plastic cones.
Extra Tip
Add fleece fabric around the edges to prevent rubbing.
How to Make Sure the Cone Works Properly

Test Your Dog’s Reach
Watch carefully for several minutes after putting the cone on. Some dogs are surprisingly flexible and determined.
Check for Stress Signs
Heavy panting, freezing, refusal to move, or frantic scratching usually means the cone needs adjustment.
Monitor Eating and Drinking
Your dog should still comfortably reach food and water bowls.
How Long Should a Dog Wear a Cone?
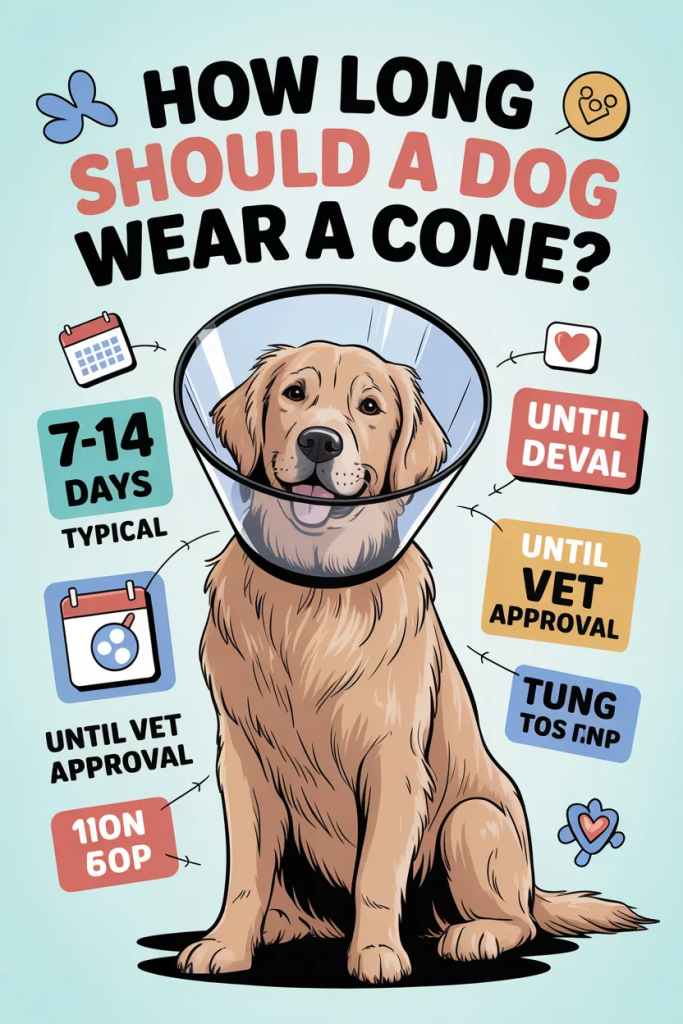
Recovery time depends on the issue.
- Minor skin irritation: 2–5 days
- Stitches or surgery: 10–14 days
- Hot spots: until fully healed
I always recommend following your veterinarian’s timeline because removing the cone too early often causes setbacks.
Can Dogs Sleep with a Homemade Cone?
Yes, and many dogs sleep better with soft homemade cones than rigid plastic ones.
Pillow collars and towel wraps usually allow more natural sleeping positions. Still, check regularly to ensure the cone doesn’t shift during the night.
Common Mistakes to Avoid

Making the Cone Too Loose
If the cone slips off easily, it won’t protect the wound.
Using Unsafe Fasteners
Avoid pins, wires, or anything sharp that could scratch your dog.
Leaving Dogs Unsupervised Initially
Always monitor your dog for the first few hours to make sure they can breathe, move, and rest comfortably.
Ignoring Signs the Cone Isn’t Working
If your dog still reaches the wound, switch to a stronger option immediately.
When to Use a Professional Cone Instead

How to Make Sure the Cone Works Properly
A homemade dog cone works best for mild situations and temporary use. Some injuries need stronger protection.
Use a professional recovery cone if:
- Your dog keeps escaping the DIY cone
- The wound is severe
- There are stitches involved
- Your dog aggressively scratches or bites the area
- Healing is getting worse instead of better
In my experience, stubborn dogs usually need a proper vet-approved collar because they quickly figure out weak DIY designs.
Tips to Help Your Dog Adjust
The adjustment period is often harder than the cone itself.
Here’s what helps most:
- Offer treats after putting the cone on
- Keep pathways clear inside the house
- Raise food bowls slightly if needed
- Stay calm because dogs pick up on frustration
- Give extra supervision during the first day
Most dogs adapt within 24 to 48 hours.
Alternatives to Dog Cones
Some dogs simply refuse cones completely. In those cases, these alternatives may help:
- Recovery suits
- Inflatable collars
- Protective bandages
- Surgical recovery shirts
- Vet-approved soft e-collars
Each option works differently depending on where the injury is located.
Final Verdict

A homemade dog cone can be a practical and comfortable solution when your dog needs temporary protection from licking or scratching. I’ve personally had the best results with towel wraps and pillow-style collars because they’re easy to make and less stressful for dogs.
That said, not every DIY option works for every dog. Active dogs, determined chewers, and serious injuries often require a professional medical cone for proper healing.
The most important thing is making sure your dog stays safe, comfortable, and unable to reach the wound while recovering.