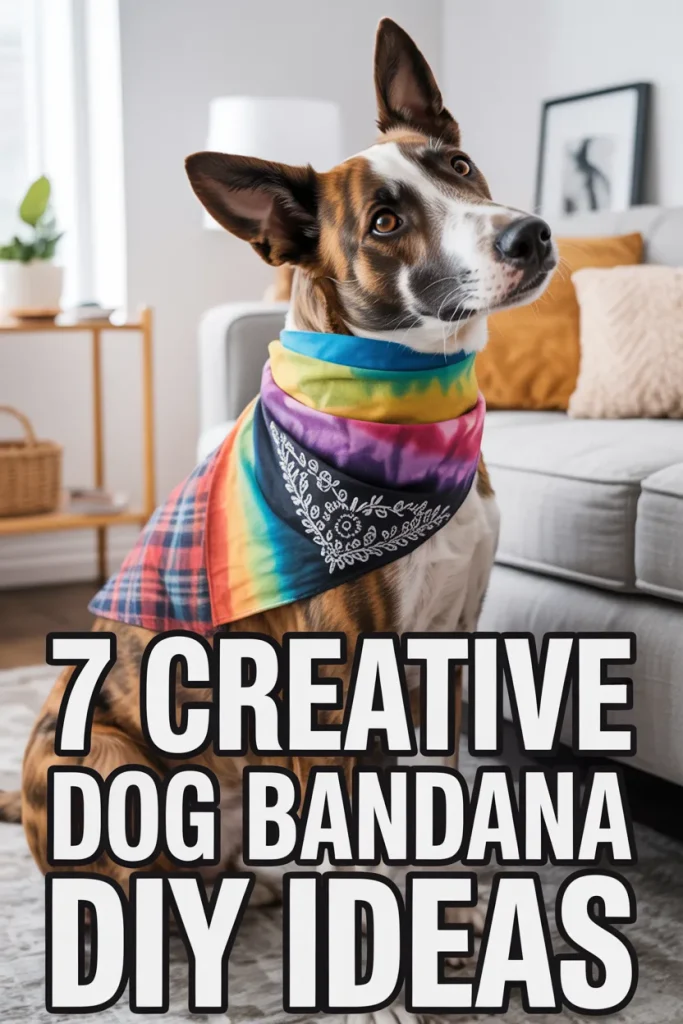
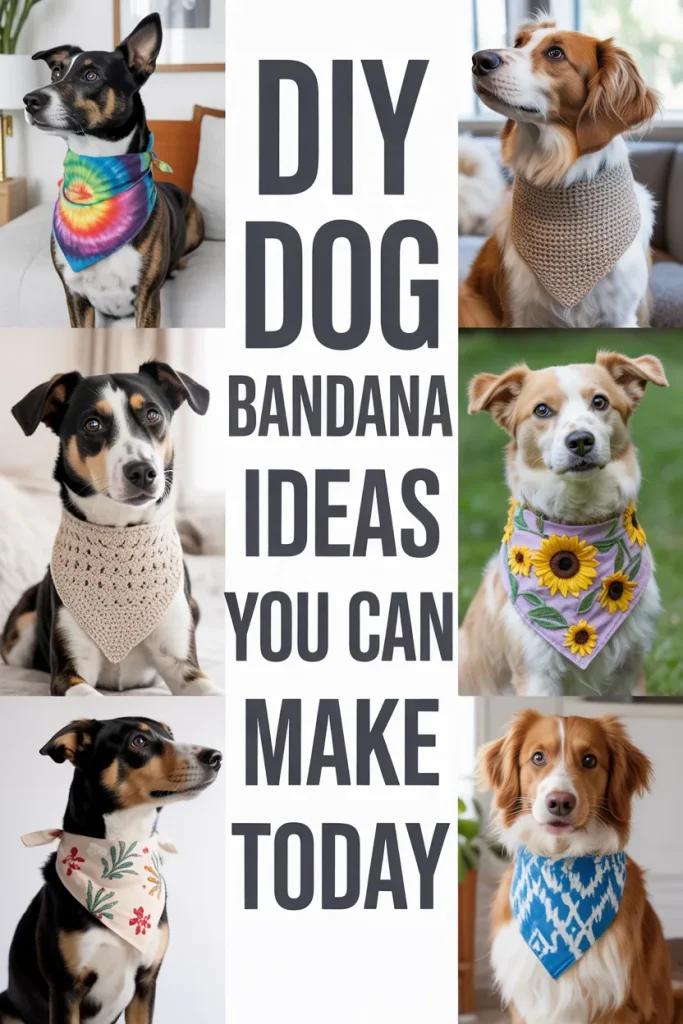
7 Dog Bandana DIY Ideas That Are Easy, Stylish & Budget-Friendly
Written By:
Creating your own dog bandana DIY projects might seem like a small thing, but it completely changed how I approach pet accessories. I used to rely on store-bought options, thinking they were convenient. In reality, they often lacked durability, proper fit, and personalization. After a few disappointing purchases, I started making my own—and the difference was immediate.
Not only did I save money, but I also gained full control over materials, sizing, and design. More importantly, my dog actually stayed comfortable wearing them. In this guide, I’m sharing seven practical and creative ideas that I’ve personally tested or refined over time. Each one is simple, customizable, and designed to last.
Quick Summary & Key Takeaways
- DIY dog bandanas are significantly more cost-effective than retail options
- Cotton and breathable fabrics provide better comfort for dogs
- Accurate neck measurement ensures proper fit and prevents slipping
- Small design upgrades like trims or embroidery enhance appearance
- Most bandanas can be completed within 30–45 minutes
- Pre-washing fabric prevents shrinkage issues later
- Secure closures (snaps or collar loops) improve usability
#1: DIY Tie-Dye Paw Print Dog Bandana (No-Sew & Sew Options)
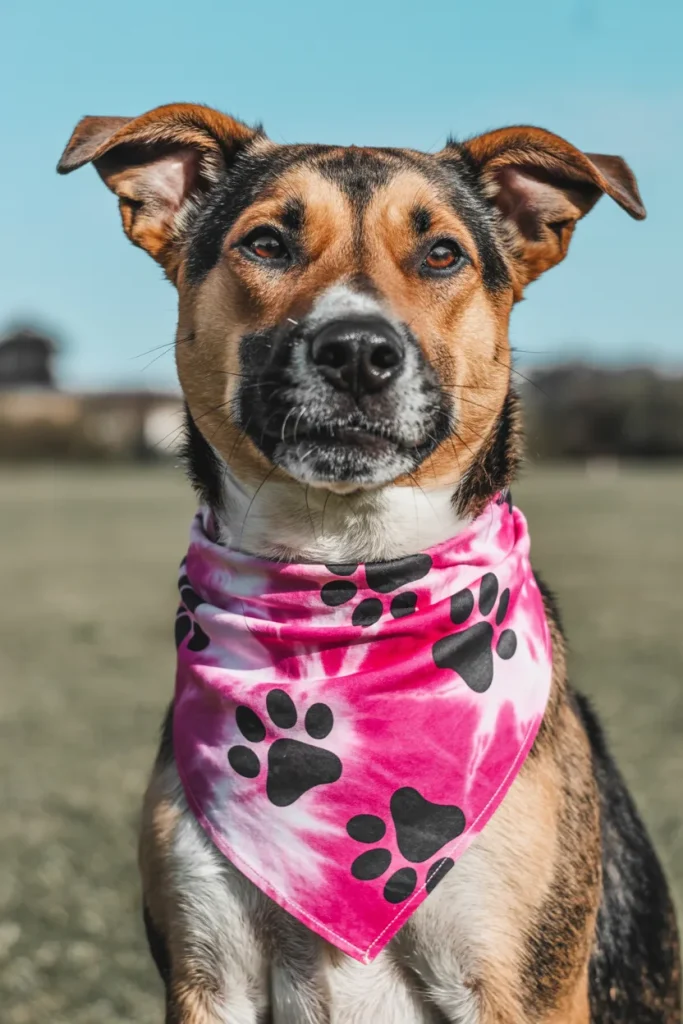
Tie-dye bandanas are a great starting point if you’re new to DIY projects. They’re forgiving, meaning even minor inconsistencies in the pattern still look intentional.
I typically use 100% cotton fabric because it absorbs dye evenly and remains comfortable against the dog’s skin. One key step that should not be skipped is pre-washing the fabric. This removes any coating that can interfere with dye absorption.
After dyeing, adding paw print designs gives the bandana a finished look. You can use fabric paint or simple stamping tools.
From experience, letting the dye set overnight improves color retention significantly.
Pro Tip: Use gloves and apply dye evenly on both sides to avoid patchy results.
Common Mistake: Using synthetic fabric, which leads to poor dye absorption.
#2: Sunflower Dog Bandana With Ruffle Dress — The Cutest DIY Set You’ll Actually Finish
This design stands out because of its decorative finish. Adding trim along the edges creates a polished, boutique-style appearance without requiring advanced skills.
Before sewing, I always press the edges with an iron. This step improves accuracy and makes stitching easier. It also helps maintain the shape after washing.
Measuring the dog’s neck properly is essential here, especially when adding structured elements like trim.
Pro Tip: Pin the trim securely before sewing to prevent shifting.
Common Mistake: Skipping edge pressing, which results in uneven seams.
#3: Crochet Snood Bandana — The Colorful Neck Warmer Your Dog Will Actually Wear
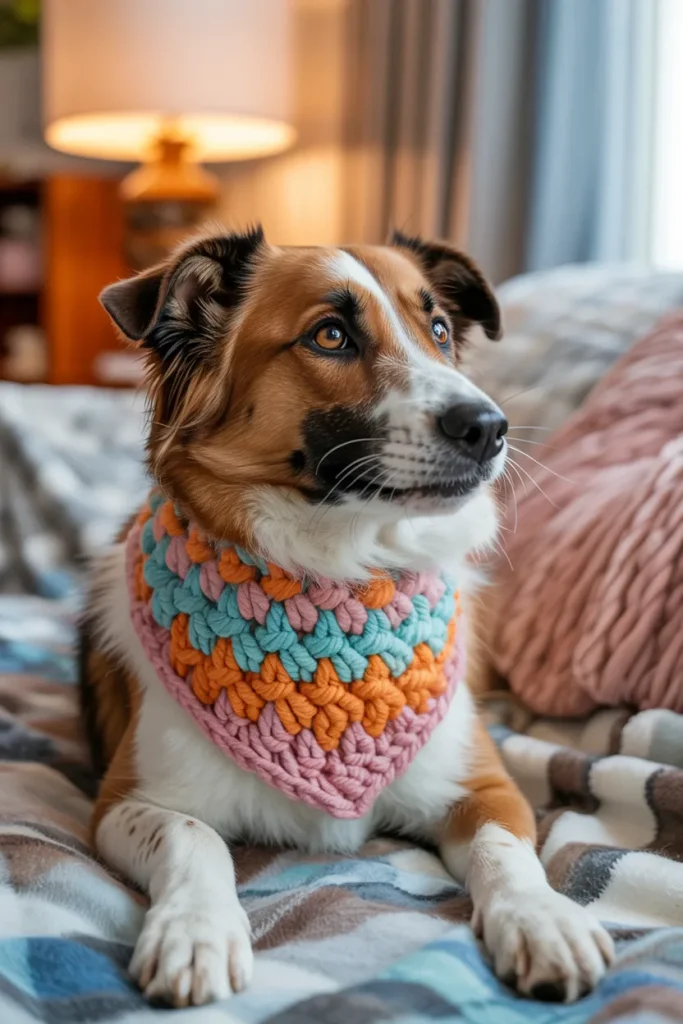
For dogs that dislike tied accessories, a crochet snood is a practical alternative. It slips over the head and stays in place without adjustment.
I’ve used this style during colder months, and it works well as both an accessory and a light neck warmer. Choosing soft, bulky yarn ensures comfort and durability.
The circular construction also reduces friction against the fur, which helps prevent irritation.
Pro Tip: Keep stitches slightly loose to maintain flexibility.
Common Mistake: Using coarse yarn that can irritate the dog’s skin.
#4: DIY Chinese New Year Red Bandana for Dogs (Embroidered Floral Design)
This design is ideal for festive occasions. Embroidery adds texture and gives the bandana a more refined look.
When I started working with embroidery, I focused on simple patterns first. Clean execution matters more than complexity. Using a fabric marker to outline the design helps maintain accuracy.
Red fabric is particularly effective because it enhances visibility and complements most embroidery thread colors.
Pro Tip: Use an embroidery hoop to keep the fabric taut while stitching.
Common Mistake: Pulling threads too tightly, causing the fabric to bunch.
#5: Embroidered Name Bandana for Your Dog (The “Bones” Look)
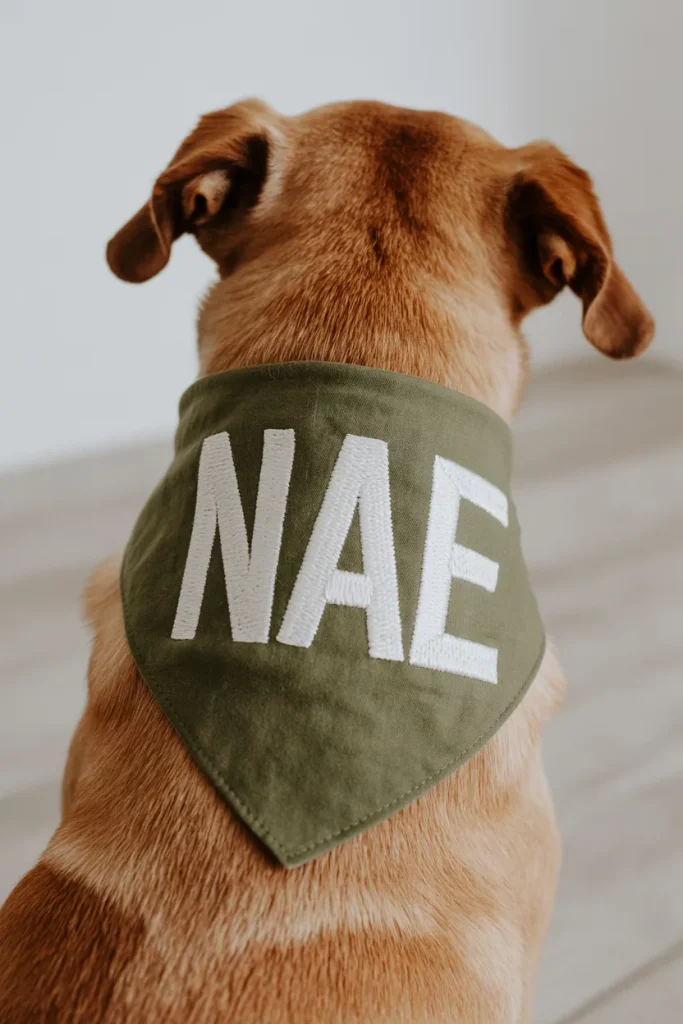
Personalized bandanas are one of the most rewarding projects. Adding your dog’s name creates a unique accessory that stands out.
I prefer using thicker fabrics like microsuede because they hold their shape and don’t fray easily. Satin stitching works best for lettering, as it creates a clean and solid finish.
Placement is important—position the name where it remains visible when worn.
Pro Tip: Test your stitching on scrap fabric before working on the final piece.
Common Mistake: Misaligned text placement, which reduces visibility.
#6: Green Plaid Dog Bandana DIY (The One That Actually Stays Put)
This is one of the most practical designs I’ve used. Instead of tying, the bandana attaches directly to the collar, eliminating the need for adjustments.
Aligning patterned fabric, especially plaid, requires attention to detail. Taking extra time here significantly improves the final result.
Pressing the seams after turning the fabric inside out creates sharp edges and a professional finish.
Pro Tip: Integrate a collar loop or D-ring for better stability.
Common Mistake: Skipping fabric pre-washing, which can cause shrinkage later.
#7: Ikat-Print Dog Bandana (The One That Looks Straight Off Pinterest)
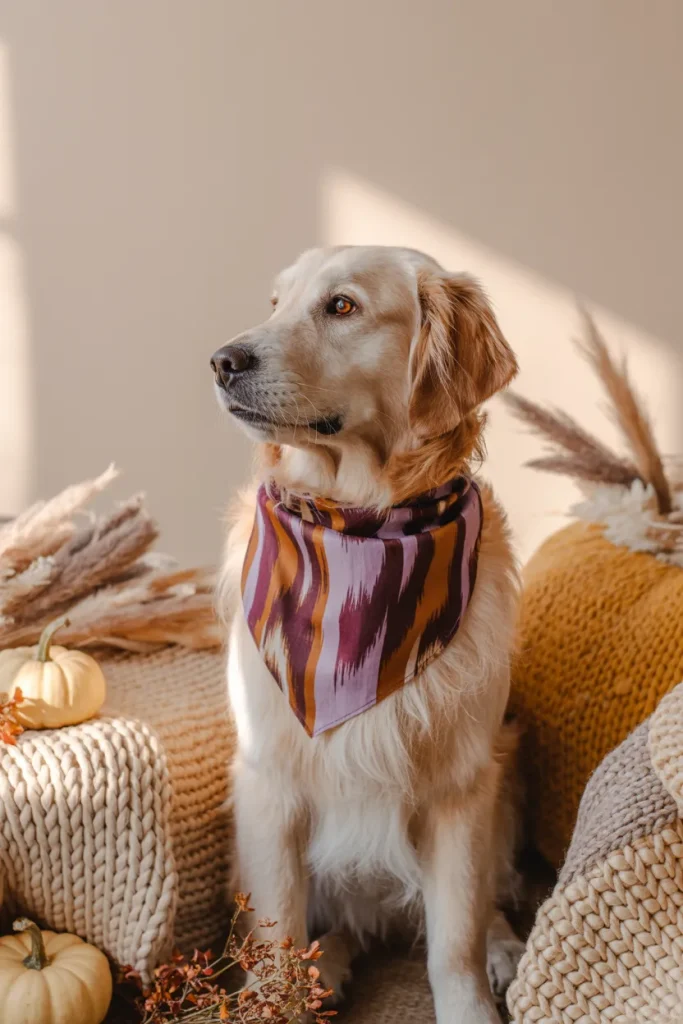
This design focuses on simplicity and fabric choice. A strong pattern eliminates the need for additional decoration.
I prefer lightweight cotton for this style, especially in warmer weather. It allows airflow and keeps the dog comfortable for extended wear.
Double-folding the edges ensures durability and prevents fraying over time.
Pro Tip: Use precise measurements when cutting to maintain symmetry.
Common Mistake: Uneven cutting, which affects the final drape.
The Bandana Sizing Secret That’ll Save You From Starting Over
Accurate sizing is one of the most important factors in creating a functional dog bandana.
Instead of cutting fabric first, always measure your dog’s neck circumference. Then add extra length to allow for tying or draping. In most cases, adding 8–10 inches provides a comfortable fit.
Pre-washing fabric is another essential step. Cotton materials tend to shrink, and skipping this step can result in incorrect sizing after the first wash.
For added convenience, consider using snap buttons instead of traditional knots. This makes the bandana easier to put on and remove while keeping it secure during use.
Final Thoughts
DIY dog bandana projects offer a practical balance between creativity and functionality. They allow you to control quality, ensure proper fit, and customize designs based on your dog’s needs.
In my experience, even simple adjustments—like better fabric selection or improved closures—make a noticeable difference in both durability and comfort.
Start with a basic design, refine your process, and gradually experiment with more advanced styles. Over time, you’ll develop a system that works consistently and produces better results than most store-bought options.