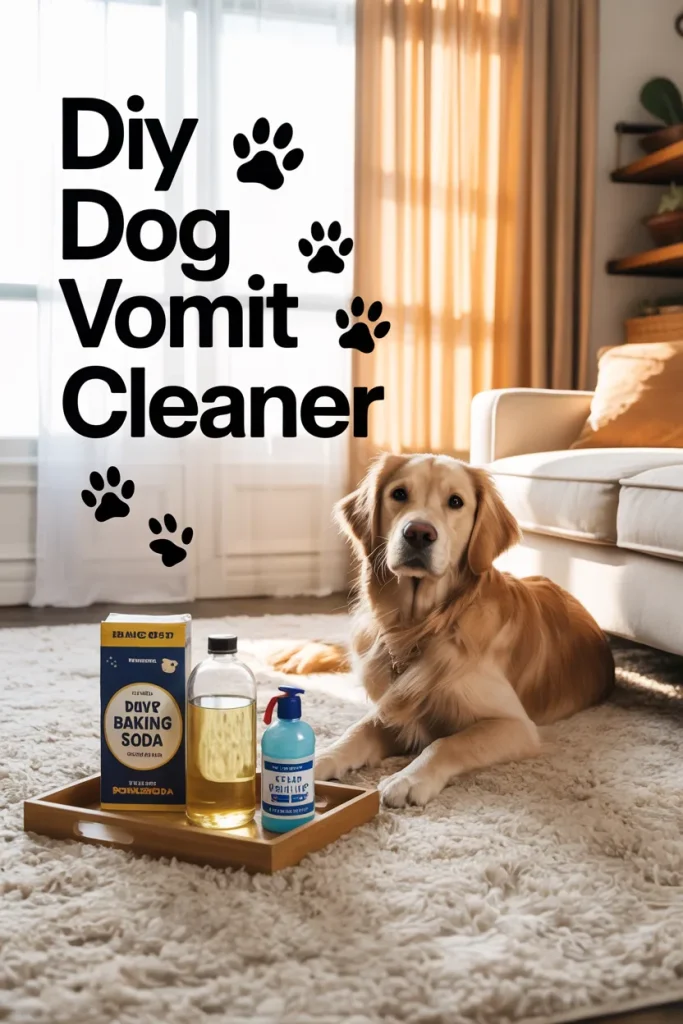
DIY Dog Vomit Cleaner: Easy Homemade Pet Stain & Odor Remover for Carpets
Living with dogs brings a lot of happy moments, but it can also come with a few unpleasant surprises. One of those surprises is cleaning up vomit. It can happen suddenly and often at a very inconvenient time. Many dog owners have experienced this situation at least once. A dog may throw up after eating too quickly, after getting into food they should not have eaten, or when they feel unwell.
Even though the situation can feel frustrating, cleaning it properly is important. If vomit is not cleaned right away, it can leave stains on carpets, rugs, and furniture. It can also create strong smells that stay in the room for a long time. For pet owners, having a simple and safe cleaning method can make a big difference.
Want more cleaning hack for the year 2026, then visit here to see the different cleaning hacks for pet owner.
A DIY Dog Vomit Cleaner can help remove both the stain and the odor using common household items. The process does not require special products or expensive cleaners. With a few basic ingredients and simple steps, it is possible to clean the mess and bring your home back to a fresh and comfortable space.
Why Make Your Own Vomit Cleaner?
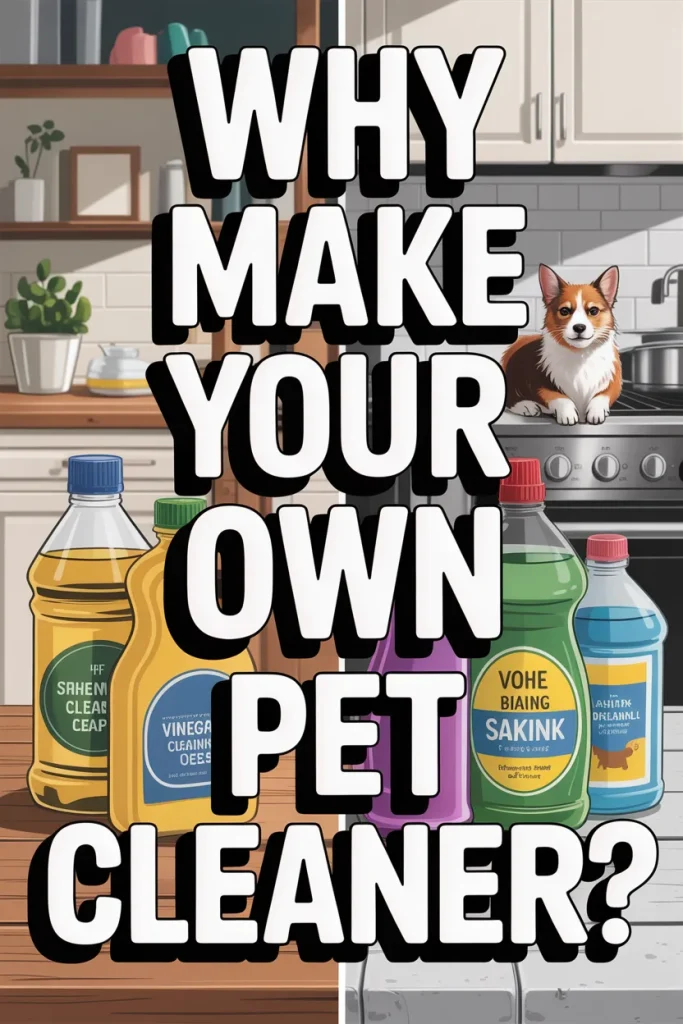
Many people automatically reach for a store cleaner when dealing with stains. While these products can work, a homemade cleaning solution offers several practical benefits for pet owners.
One reason many people prefer a DIY Dog Vomit Cleaner is cost. Most of the ingredients used in this cleaning method are already found in the kitchen or laundry area. This means there is no need to spend extra money on specialty cleaning sprays.
Another benefit is safety. Homemade cleaners use basic ingredients that do not contain harsh chemicals. This can make them a better option for homes with pets. Since dogs spend time on the floor and around carpets, using a gentler cleaning mixture helps reduce the risk of exposure to strong chemicals.
Flexibility is also an advantage. Different stains can require slightly different treatments. A homemade cleaner allows you to adjust the mixture if a stain is more difficult or if the smell is stronger. This makes the solution useful for different types of surfaces like carpets, rugs, and upholstery.
For many pet owners, making their own cleaner also gives them peace of mind. Knowing exactly what is in the cleaning solution can make the process feel simpler and safer.
What You’ll Need
Before starting the cleaning process, it helps to gather everything you need. The ingredients used in this DIY Dog Vomit Cleaner are simple and easy to find. Each item plays a specific role in removing stains and odors.
Baking Soda is often used in household cleaning because it absorbs moisture and helps remove unpleasant smells. When sprinkled over the affected area, it can pull out leftover moisture from the surface.
White Vinegar is another common cleaning ingredient. It helps break down stains and can reduce bacteria that may remain in the area.
Dish Soap helps remove grease and residue. Vomit may contain food particles or oils that leave marks on fabrics or carpets. Dish soap helps lift those particles from the material.
Hydrogen Peroxide (Optional) can be used when stains are more stubborn. It works well on light-colored fabrics and carpets. However, it should be avoided on darker materials because it may cause fading.
Warm Water is used to dilute the mixture and rinse the cleaned area.
Clean Towels or Rags are needed for blotting and wiping the surface during the cleaning process.
A Spray Bottle is optional but helpful. It allows the cleaning solution to be applied more evenly across the stained area.
Having these items ready before starting makes the process smoother and quicker.
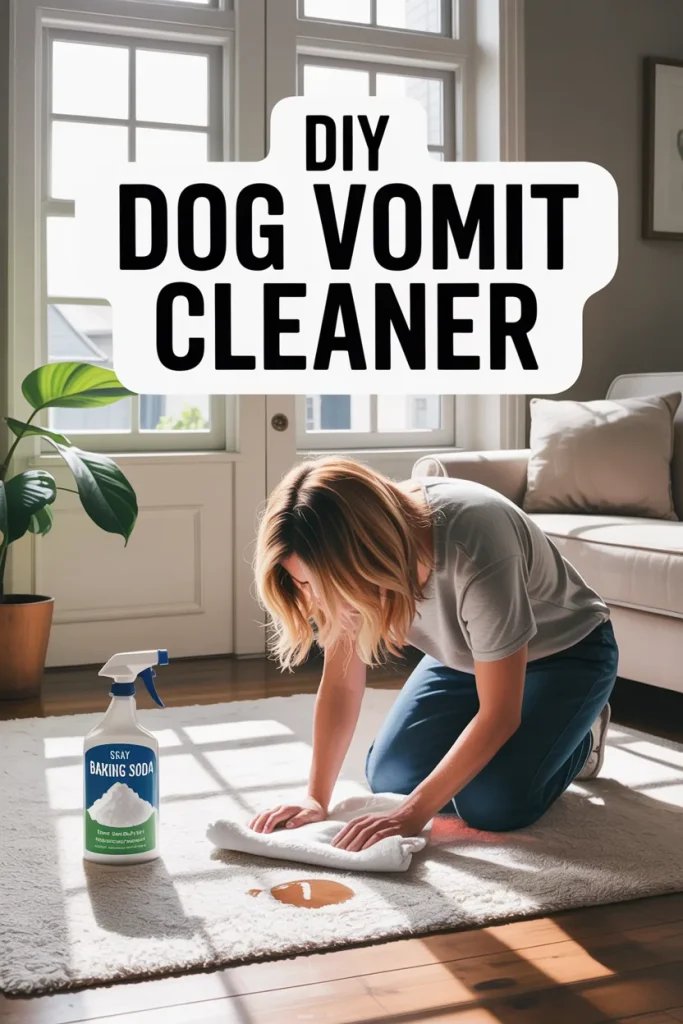
Step-by-Step Instructions
Cleaning dog vomit can feel unpleasant, but following a clear process makes the task easier. Each step helps remove the stain and restore the area.
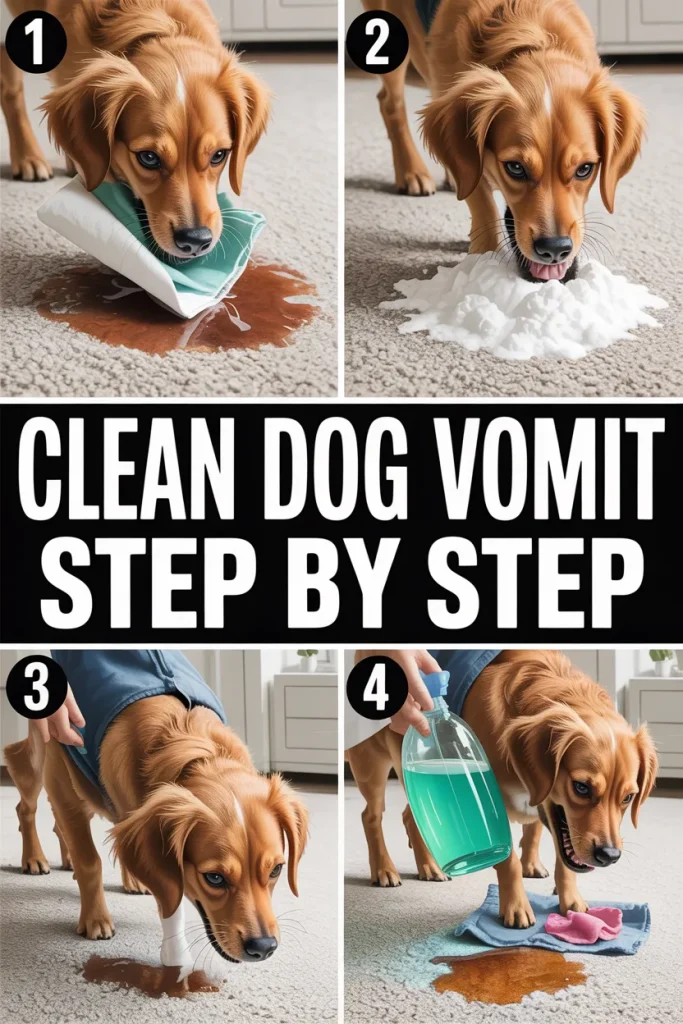
Step 1: Scoop It Up
The first step is to remove as much of the vomit as possible. A paper towel or spatula can be used to scoop up the mess. This step helps prevent the stain from spreading deeper into the carpet or fabric.
It is important to do this gently. Pressing too hard can push the material further into the fibers.
Step 2: Blot, Don’t Rub
After the solid mess is removed, the area will still have moisture. Use a clean towel to blot the spot and absorb as much liquid as possible.
Rubbing should be avoided because it spreads the stain and pushes it deeper into the surface. Blotting works better because it lifts the moisture without spreading it.
Step 3: Apply Baking Soda
Next, sprinkle a generous amount of baking soda over the area. The powder should cover the entire stain.
Let it sit for about fifteen to twenty minutes. During this time, the baking soda absorbs remaining moisture and begins to reduce the smell.
Step 4: Mix Your Cleaning Solution
While the baking soda works, prepare the cleaning mixture.
Combine the following ingredients:
- 1 cup warm water
- ½ cup white vinegar
- A few drops of dish soap
If the stain is stronger or has already started to set, add ¼ cup hydrogen peroxide. This step should only be used on light-colored materials.
Mix the ingredients well so the solution is evenly blended.
Step 5: Apply the Solution
Once the baking soda has had time to absorb moisture, apply the cleaning mixture to the area. This can be done by pouring the solution slowly or by spraying it with a bottle.
Allow the solution to sit for about five to ten minutes. During this time, it works to break down the stain and loosen the remaining residue.
Step 6: Blot Again
Use a fresh towel to blot the area again. As you blot, the towel will lift the cleaning mixture and stain from the material.
Repeat the blotting process until the stain begins to fade or disappear.
Step 7: Rinse and Dry
The final step is to rinse the area with a small amount of warm water. This removes any leftover cleaning mixture.
After rinsing, place a dry towel over the area and press gently to absorb extra moisture. Allow the spot to air dry completely.
Once dry, the surface should look cleaner and smell fresher.
Pro Tips for Success
Cleaning stains becomes much easier when a few helpful habits are followed.
One important tip is to act quickly. The sooner the mess is cleaned, the less time it has to soak into carpet fibers or fabric.
Testing the cleaning solution first is also a good idea. Apply a small amount to a hidden area to make sure the material does not react or change color.
Good airflow can also help during the cleaning process. Opening a window or using a fan helps the surface dry faster and reduces lingering odors.
If a stain remains after cleaning, a deeper cleaning method may help. Some carpets respond well to steam cleaning or carpet shampoo machines.
These extra steps can improve the final result and help keep the home smelling fresh.
When to Call in the Pros
Sometimes stains can be larger or more stubborn than expected. In these cases, professional cleaning services may be the best option.
If the stain remains visible or if the smell continues after several cleaning attempts, professional cleaners have stronger equipment that can reach deeper into carpets and upholstery.
Hiring professionals can help restore the surface and remove odors that household cleaning methods cannot fully eliminate.
Final Thoughts
Cleaning up after a dog is part of everyday life for many pet owners. Vomit may be unpleasant, but having a reliable cleaning method makes the situation easier to manage.
Using a DIY Dog Vomit Cleaner allows pet owners to handle stains quickly with simple household ingredients. The process removes moisture, breaks down stains, and reduces odors without relying on strong chemical cleaners.
With the right steps and a little patience, carpets and fabrics can return to a clean and fresh condition. Once the mess is gone, the home feels comfortable again—and the dog can continue enjoying life with their family.