Peanut Butter and Banana Bites For Dogs: A Dog Treat Recipe
If you’ve ever stood in the pet aisle staring at the back of a treat bag, trying to figure out what half the ingredients mean, you’re not alone. Store-bought treats are convenient, yes. But convenience doesn’t always mean quality. When you make treats at home, you know exactly what’s going into them. There’s no guessing, no mystery additives, and no fillers you can’t pronounce.
Homemade treats also let you control freshness. You’re using real ingredients from your own kitchen. That alone makes a difference. And honestly, there’s something satisfying about baking for your dog. You’re not just tossing them a snack—you’re making something with intention.
These Peanut Butter and Banana Bites are simple, affordable, and made with ingredients you probably already have. Once you try them, they’ll likely become a regular part of your routine.
Peanut Butter and Banana Bites for Dogs
These treats combine two flavors most dogs absolutely love: peanut butter and banana. The richness of peanut butter pairs perfectly with the natural sweetness of ripe banana. Add oats and egg into the mix, and you’ve got a soft, slightly chewy treat with just the right amount of firmness.
They smell good while baking. They look wholesome. And most importantly, dogs respond to them immediately. If your pup hears you open a peanut butter jar, you already know how this is going to go.
Ingredients You’ll Need
The beauty of this recipe is its simplicity. You don’t need anything complicated.
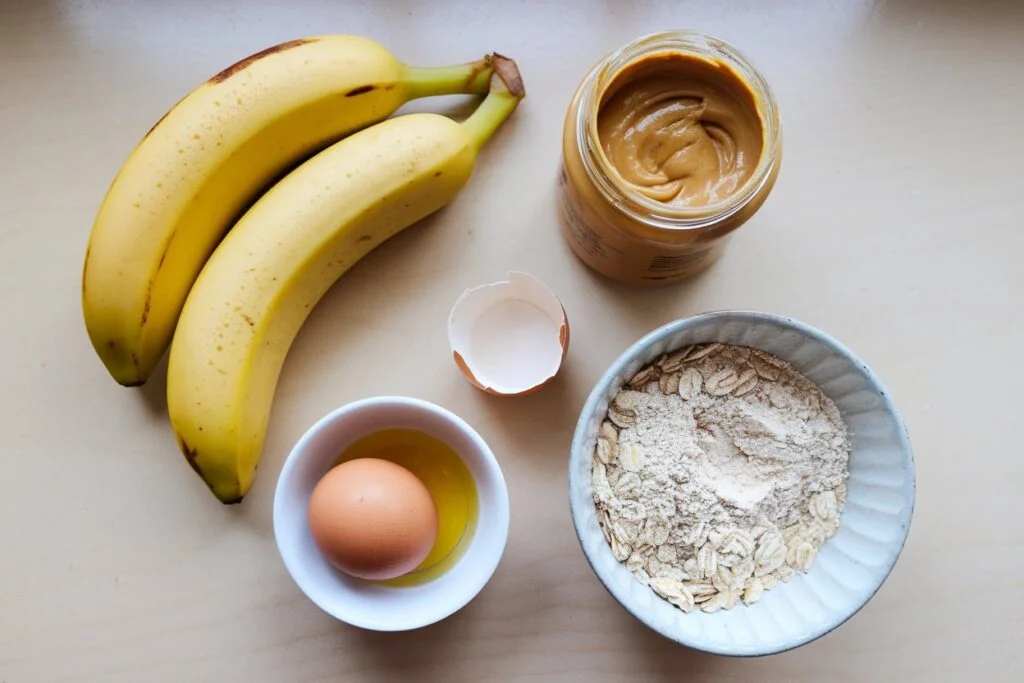
You’ll need
- 1/2 cup natural peanut butter (make sure it does not contain xylitol)
- 1 ripe banana
- 1 egg
- 1 cup oat flour
That’s it. Four ingredients. Each one has a purpose, and together they create a balanced, dog-friendly treat.
Why These Ingredients Work
Peanut butter provides protein and healthy fats that help support your dog’s coat and overall energy. Always check the label to ensure it’s free from xylitol, as that ingredient is unsafe for dogs.
Banana adds natural sweetness and moisture. The riper it is, the easier it blends and the better the flavor. It also contains potassium, which supports muscle and nerve function.
Egg acts as the binder. Without it, the mixture wouldn’t hold together properly. It also contributes additional protein and essential fatty acids.
Oat flour keeps the treats gentle on the stomach while giving them structure. If you don’t have oat flour, you can blend plain oats into a fine powder at home.
Step-by-Step Instructions
Step 1: Preheat the Oven
Set your oven to 350°F (175°C). It’s best to have it fully preheated before your treats are ready to go in. Most dogs seem to sense when something is baking, so don’t be surprised if you gain an audience in the kitchen.
Step 2: Mash the Banana
Peel the ripe banana and place it in a mixing bowl. Use a fork to mash it until smooth. The softer the banana, the easier this step becomes. You want a creamy consistency without large chunks.
Step 3: Add the Peanut Butter
Mix in 1/2 cup of peanut butter with the mashed banana. Stir thoroughly until you have a thick, sticky mixture. This is usually the moment your dog becomes very interested in what you’re doing.
Step 4: Mix in the Egg
Crack one egg into the bowl and combine everything well. The egg will help bind the mixture and prepare it for the flour.
Step 5: Add the Oat Flour
Gradually stir in 1 cup of oat flour. Keep mixing until a dough forms. The texture should be soft but manageable. If it feels too sticky to roll, sprinkle in a small amount of extra oat flour. Avoid adding too much, as you don’t want the dough to become dry or crumbly.
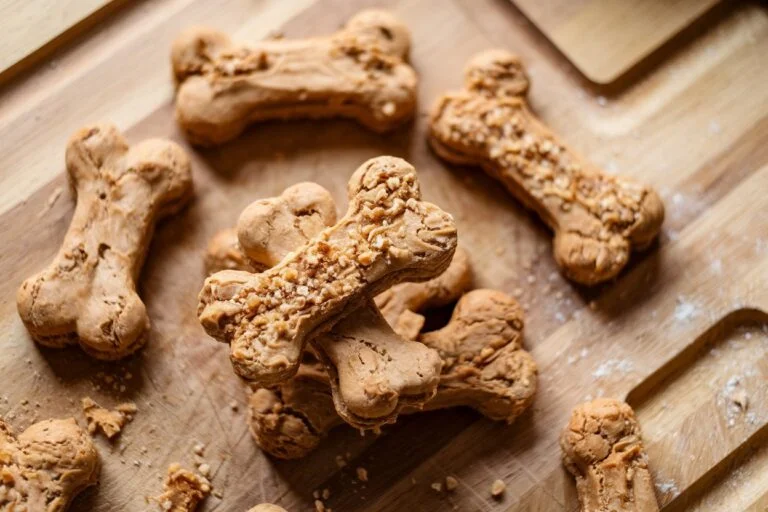
Step 6: Roll and Shape
Lightly dust your work surface with oat flour. Roll the dough out to about 1/4-inch thickness.
From here, you have options
- Use cookie cutters for fun shapes
- Cut simple squares with a knife
- Form small round bites by hand
The shape doesn’t matter to your dog. What matters is the taste.
Step 7: Bake
Line a baking sheet with parchment paper and place the treats on it, leaving a little space between each piece.
Bake for 15 to 20 minutes. The treats should feel firm and look lightly golden around the edges when done. Check them at the 15-minute mark, since ovens can vary.
A slightly crisp exterior with a soft inside works perfectly.
Step 8: Cool and Store
Remove the treats from the oven and allow them to cool completely before serving. This helps them set properly and prevents any risk of burning your dog’s mouth.
Store them in an airtight container at room temperature. They will stay fresh for about one week.
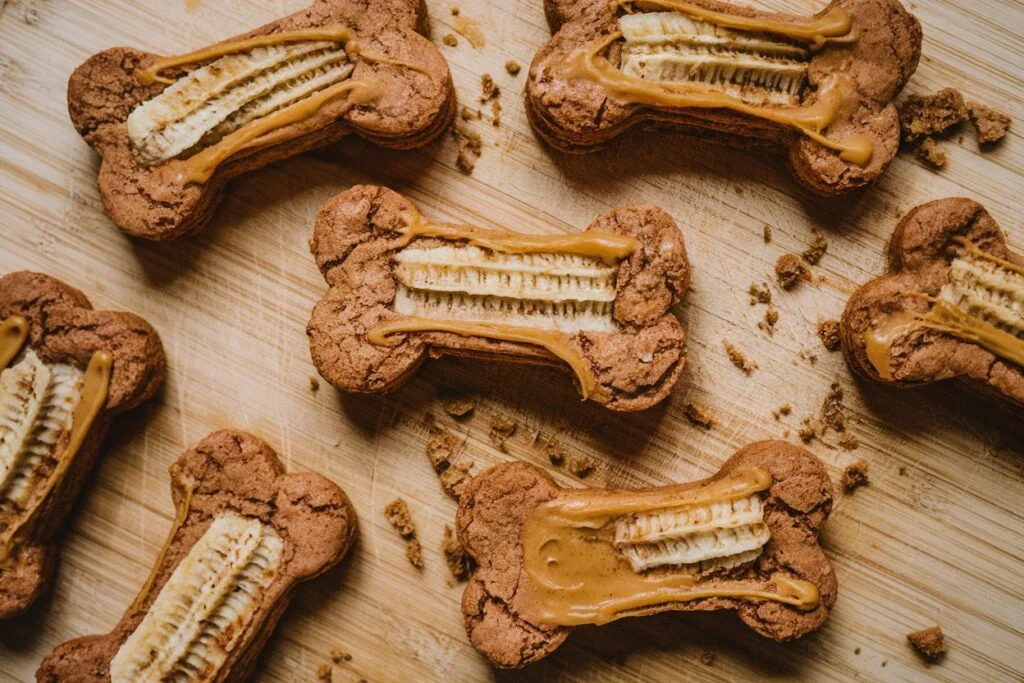
Texture and Flavor Your Dog Will Love
These bites have a balanced texture. They’re soft enough for easy chewing but firm enough to give that satisfying bite dogs enjoy. The peanut butter flavor is strong without being overwhelming, and the banana adds a mild sweetness that rounds everything out.
Because they’re made with simple ingredients, they feel wholesome. There’s no greasy residue, no artificial smell, and no strange aftertaste.
You’ll probably notice your dog sitting closer than usual while they bake. And once they get their first bite, the tail wag says everything.
Benefits of Making Treats at Home
When you prepare treats yourself, you get several advantages
- Full control over ingredients
- No artificial preservatives
- Budget-friendly compared to specialty pet treats
- Freshly made in small batches
You can also adjust portion sizes depending on your dog’s needs. Smaller bites for training. Slightly larger ones for special rewards.
Final Thoughts of Peanut Butter and Banana Bites For Dogs
Making Peanut Butter and Banana Bites at home is simple, affordable, and genuinely rewarding. The process doesn’t take long, and the ingredient list is short and easy to manage.
You’re giving your dog something made with care. And while they may not understand the effort behind it, they’ll definitely understand the flavor.
Once you see how quickly these disappear from the container, you’ll know you’ve found a treat worth making again.