DIY Dog Beds for Large Dogs: Easy & Affordable Ideas That Actually Work
Written By:
I’ve spent way too much money on dog beds that looked great for a week… then flattened, tore, or just didn’t suit my dog at all. If you have a large dog, you probably know the struggle—most store-bought beds either cost a fortune or don’t last.

That’s exactly why I started making my own DIY dog beds for large dogs. It’s cheaper, more practical, and honestly, you get something that fits your dog perfectly. Over time, I’ve tested different materials, designs, and setups—and some worked way better than others.
In this guide, I’ll walk you through what actually works, what to avoid, and how you can build a comfortable, long-lasting dog bed at home without overcomplicating things.
Quick Summary & Key Takeaways
- DIY dog beds can cost 50–70% less than store-bought large dog beds
- Memory foam is the best option for joint support, especially for older dogs
- You don’t need sewing skills—no-sew options work perfectly
- Strong fabrics like canvas or denim last much longer than soft cotton
- Regular cleaning and small repairs can extend bed life by years
Benefits of DIY Dog Beds for Large Dogs

Cost Savings Compared to Store-Bought Beds
One thing I noticed quickly—large dog beds are overpriced. A decent one can easily hit $150 or more, and even then, quality isn’t guaranteed.
When I made my first DIY bed, I spent less than half of that. The biggest saving comes from using what you already have—old cushions, blankets, or even leftover foam.
Another hidden benefit? You don’t have to replace the whole bed. If something wears out, you just fix that part. That alone saves money long-term.
Customization for Size and Comfort
Big dogs aren’t “one size fits all.” I learned this the hard way when my dog kept hanging off the edge of his bed.
Now, I always measure properly:
- Length of dog (nose to tail)
- Add 6–8 inches of extra space
You can also adjust the thickness. For example:
- Older dogs: thicker foam (4–6 inches)
- Younger dogs: moderate padding (2–3 inches)
I also like adding raised edges (bolsters). Many large dogs love resting their heads on something—it makes a noticeable difference in comfort.
Choosing Materials for Durability
This is where most people mess up. Soft fabrics might look nice, but they don’t survive big dogs.
From experience, these work best:
- Canvas (very tough)
- Denim (cheap and durable)
- Outdoor fabric (water-resistant)
Avoid thin cotton—it tears fast.
For the inside, memory foam is my go-to. It doesn’t flatten quickly and supports joints properly, which is especially important for heavy breeds.
Essential Materials and Tools

Selecting Sturdy Fabrics
If you want your DIY dog bed to last, fabric choice matters more than anything.
I personally stick with:
- Heavy canvas for indoor use
- Polyester blends for outdoor setups
- Upholstery fabric for a cleaner look
Pro tip: darker colors or patterns hide dirt way better. With large dogs, that’s not optional—it’s necessary.
Best Fillings for Support
Not all fillings are equal. I’ve tested a few, and here’s what actually works:
- Memory foam → Best overall support
- Polyfill → Cheap but flattens faster
- Layered foam → Good balance of cost + comfort
If your dog has joint issues, don’t compromise—go with thick, high-density foam.
Recommended Tools for Assembly

Most projects don’t need anything fancy.
For simple beds:
- Scissors
- Measuring tape
- Basic needle & thread
For wooden beds:
- Drill
- Screws
- Sandpaper
You can keep it as simple or as advanced as you like.
Step-by-Step DIY Dog Bed Projects
Simple No-Sew Dog Bed
This is where I always tell beginners to start.
One of the easiest methods I’ve used:
- Take two fleece blankets
- Cut strips along the edges
- Tie them together
- Fill with old clothes or foam
Done in under an hour.
Another quick option is using a large pillowcase stuffed with cushions. It’s not fancy, but it works—and it’s washable.
Wooden Frame Dog Bed
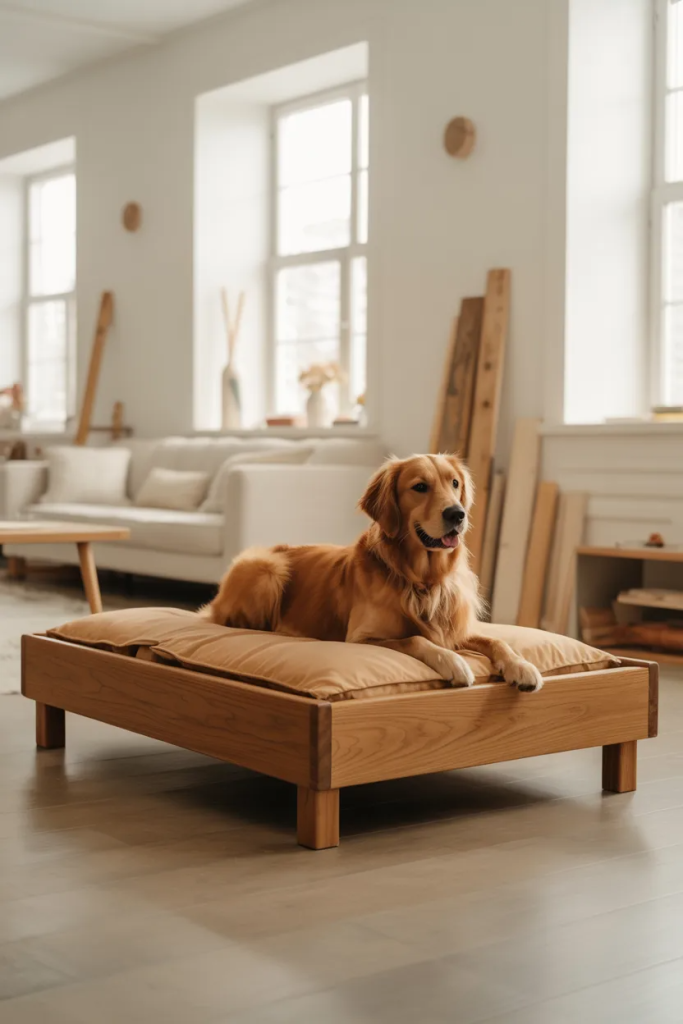
If you want something more solid, a wooden frame is worth it.
I built one using basic 2×4 wood, and it lasted years.
Steps I follow:
- Build a rectangular frame
- Add a plywood base or slats
- Sand everything smooth
- Add a cushion on top
You can even raise it slightly off the ground, which helps airflow and keeps the bed cleaner.
Repurposed Furniture Projects
This is honestly my favorite approach.
Some ideas I’ve personally tried:
- Old drawers turned into beds
- Pallets stacked for a raised platform
- Small tables converted into cozy sleeping spaces
It’s cheaper, and it adds a unique look to your home.
Design Ideas for Large Breed Beds

Orthopedic and Memory Foam Options
If your dog is older or heavy, this matters a lot.
Memory foam helps reduce pressure on joints. I noticed a real difference—my dog started getting up more easily after switching to a thicker foam base.
Look for:
- At least 4 inches thickness
- High-density foam
Anything less won’t hold up long-term.
Outdoor-Friendly Dog Bed Designs
Outdoor beds need a different approach.
What works best for me:
- Raised frames (keeps away moisture)
- Water-resistant covers
- Quick-dry materials
If you live in a hot area, airflow is key. Elevated beds help keep dogs cool.
Stylish Covers and Patterns
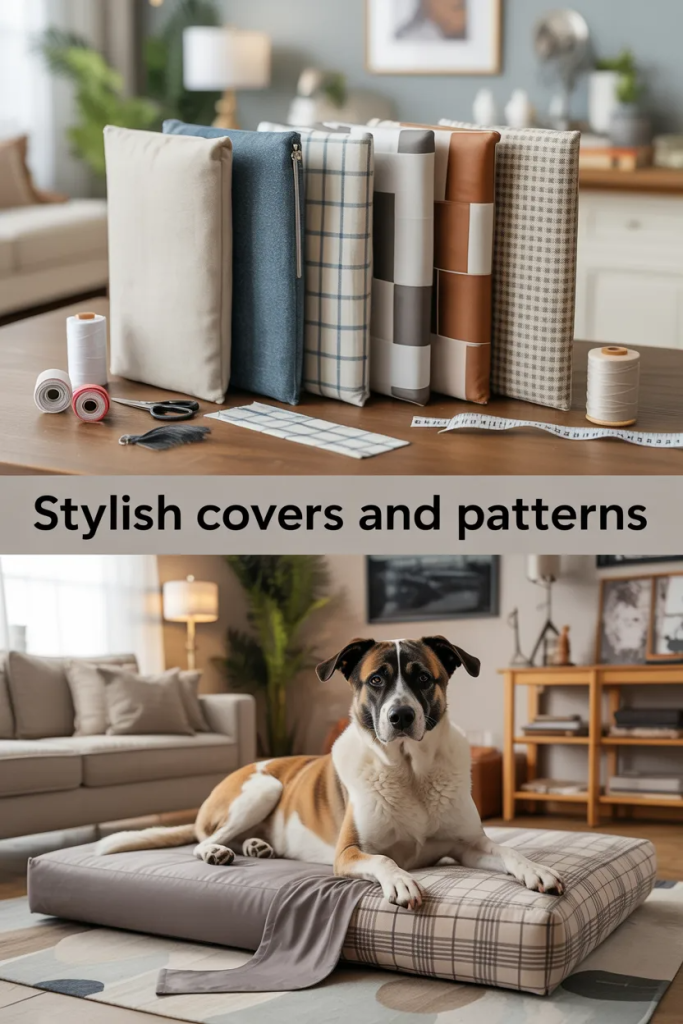
I used to ignore this, but it actually matters.
A good-looking dog bed blends into your home instead of standing out awkwardly.
Best options:
- Neutral canvas
- Denim covers
- Simple patterns (hide fur and stains)
Also, always make the cover removable. You’ll thank yourself later.
Maintenance and Longevity Tips
Cleaning and Washing DIY Dog Beds
This is something you can’t skip.
What I do:
- Wash covers every 2–3 weeks
- Vacuum weekly
- Spot clean foam when needed
Never machine-wash memory foam—it breaks down.
Repairing Wear and Tear
Small issues turn into big problems if ignored.
I check regularly for:
- Loose seams
- Torn fabric
- Weak joints
Fixing them early takes minutes and saves you from rebuilding everything.
Keeping Beds Odor-Free
Let’s be honest—dog beds can smell.
Simple tricks that work:
- Sprinkle baking soda before vacuuming
- Air the bed in sunlight
- Use a waterproof liner
I’ve also tried adding a small pouch of cedar chips—it helps, but only if your dog isn’t sensitive to it.
Final Thoughts

Making your own DIY dog bed for large dogs isn’t just about saving money—it’s about creating something that actually works for your dog.
Once I switched to DIY beds, I stopped wasting money on replacements. More importantly, my dog sleeps better, which tells me everything I need to know.
Start simple, test what works, and improve over time. You don’t need perfection—you just need comfort, durability, and a setup that fits your dog’s needs.