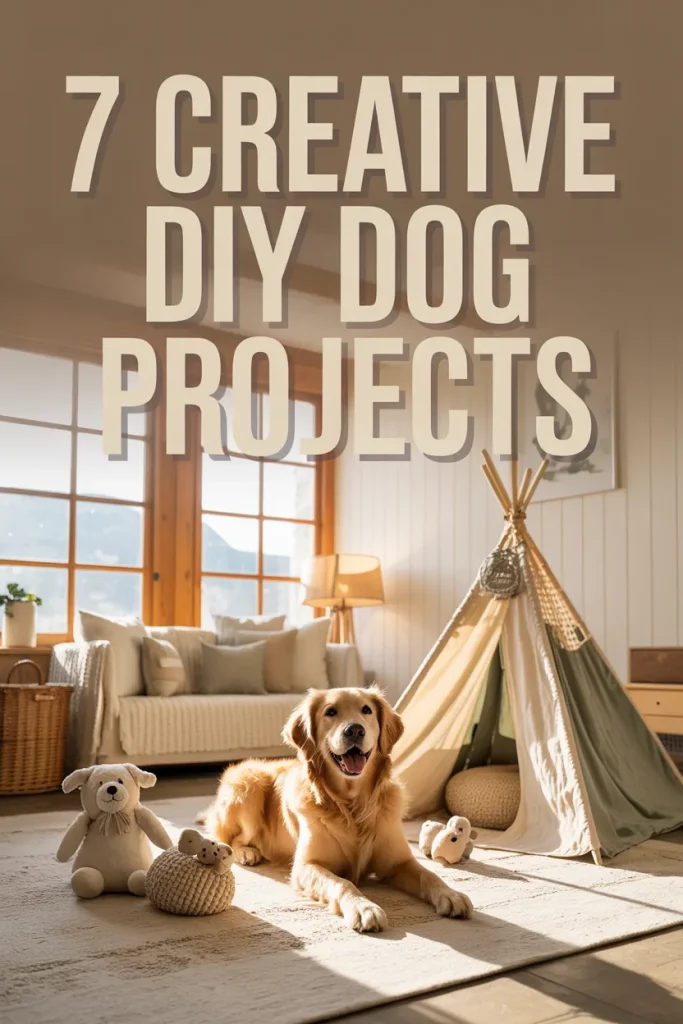
7 Creative DIY Dog Projects to Try Today
Written By:
Living with a dog changes the way your home works. I realized that pretty quickly after my Labrador started turning every blanket, cushion, and corner into his personal hangout spot. Store-bought pet products helped a little, but most of them either fell apart fast or looked completely out of place in my house.
That’s what pushed me toward DIY dog projects. I wanted practical solutions that looked good, lasted longer, and actually made daily life easier. After trying dozens of ideas over the years, these are the projects I still recommend to friends because they’re affordable, beginner-friendly, and genuinely useful.
Whether you want a cozy dog bed, a handmade chew toy, or a simple outdoor setup, these projects can make your space cleaner, more organized, and more comfortable for your dog at the same time.
Quick Summary & Key Takeaways
- DIY dog projects can save money while improving your dog’s comfort
- Most projects use beginner-level materials and tools
- Elevated beds and raised platforms help older dogs with joint support
- Handmade toys let you avoid cheap materials found in many pet-store products
- Washable fabrics and removable covers make cleanup much easier
- Pet-safe finishes and durable stitching help projects last longer
- Creating a dedicated dog space reduces mess around the house
#1: DIY Dog Bed From a Patchwork Pet Cushion (No-Sew Option Included!)
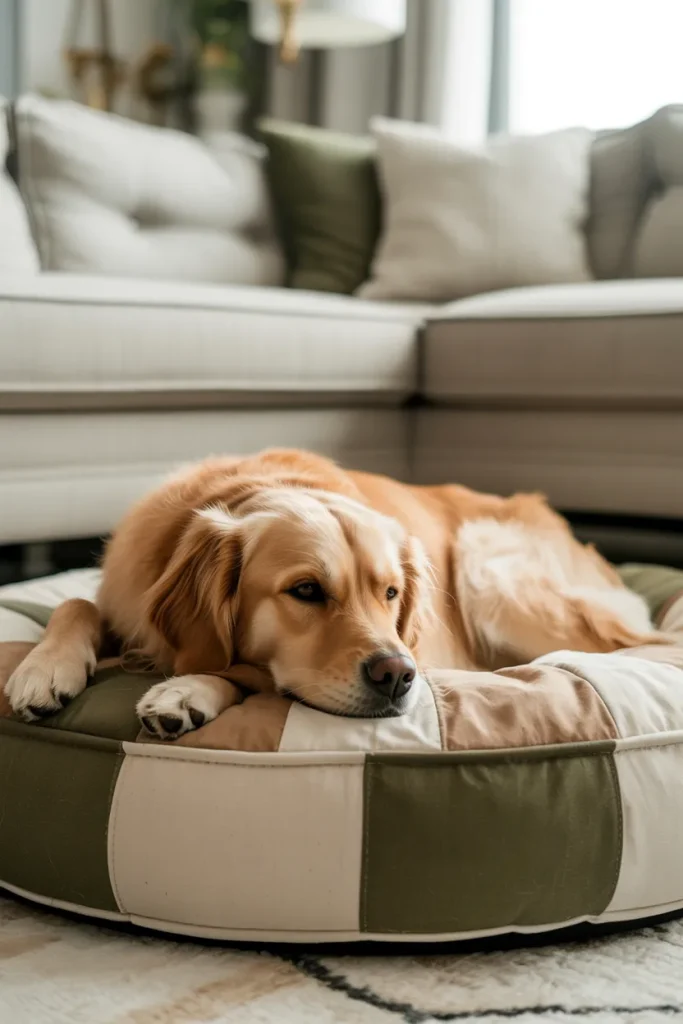
The first project I ever made for my dog was a simple floor cushion because his old bed had become completely flat. He still slept on it every night, but I could tell it wasn’t comfortable anymore.
I wanted something soft enough for long naps but durable enough to survive muddy paws and constant washing.
Materials You’ll Need
- Heavy canvas or denim fabric
- Soft cotton fabric for the inner layer
- Polyester stuffing or foam filling
- Fabric scissors
- Sewing machine or fabric glue
- Measuring tape
- Iron-on hem tape for no-sew versions
How I Made It
I cut two large fabric squares and stitched three sides together before adding the filling. One thing I learned quickly is that overstuffing the corners helps the bed keep its shape longer.
For easy cleaning, I added a removable cover with a zipper. That single detail saved me so much time later.
A darker fabric color also hides fur surprisingly well between washes.
Pro Tip
Use water-resistant fabric on the bottom layer if you have hardwood floors. It prevents moisture from soaking through after wet walks.
#2: DIY Elevated Dog Bed with Stackable Platform Steps
After watching my older dog struggle to climb onto the couch, I built a raised dog bed with small step platforms beside it. It ended up becoming his favorite sleeping spot in the house.
Elevated beds keep dogs cooler during warmer months because air circulates underneath.
Materials & Tools
- Pine lumber
- Wood screws
- Sandpaper
- Heavy-duty canvas fabric
- Staple gun
- Wood stain
- Drill
Instructions
I started by building a rectangular wooden frame and sanding every edge carefully. Splinters are something many people forget about during DIY pet projects.
Once the frame was complete, I stretched the fabric tightly across the middle and stapled it underneath.
The attached mini platform steps made climbing much easier for my dog, especially in the mornings when his joints were stiff.
Common Mistake to Avoid
Don’t skip pilot holes when working with wood. I cracked my first frame because I rushed the screws directly into the lumber.
#3: DIY Plush Hedgehog Toy Your Dog Will Actually Destroy (And Love Every Second)

I stopped buying expensive plush toys after realizing most lasted less than a week. Making them at home turned out cheaper and surprisingly more durable.
This hedgehog toy became one of my dog’s favorites because of the squeaker hidden inside.
Materials & Tools
- Sherpa fleece fabric
- Felt fabric
- Polyfill stuffing
- Squeaker insert
- Needle and thread
- Fabric-safe glue
Steps
I cut oval-shaped fabric pieces for the body and stitched them together inside out before flipping them.
Adding reinforced seams made a huge difference. Cheap toys usually split around stress points first, especially during tug games.
I also packed the stuffing firmly so the toy kept its shape longer.
Personal Observation
Dogs seem more interested in toys with different textures. The combination of fleece and felt kept my dog engaged longer than smooth fabric alone.
#4: Crocheted Flower Bonnet for Dogs (The Cutest DIY You’ll Actually Finish in One Sitting)
I originally made this bonnet for a family gathering photo shoot, but it turned into one of the funniest projects I’ve tried.
Surprisingly, small dogs usually tolerate soft crochet accessories better than stiff costume materials.
Materials Needed
- Crochet hook
- Worsted yarn
- Yarn needle
- Scissors
- Soft tie strings
How It Comes Together
The bonnet starts with a circular base that fits around the dog’s head. After that, increasing stitches creates the flower-petal effect around the edges.
Blocking the final shape helps the ruffles stay open and neat.
Helpful Tip
Use soft yarn instead of rough acrylic blends. Softer material prevents itching around the ears and keeps dogs calmer while wearing it.
#5: DIY Boho Teepee Den for Your Dog (With Fairy Lights & Ivy!)
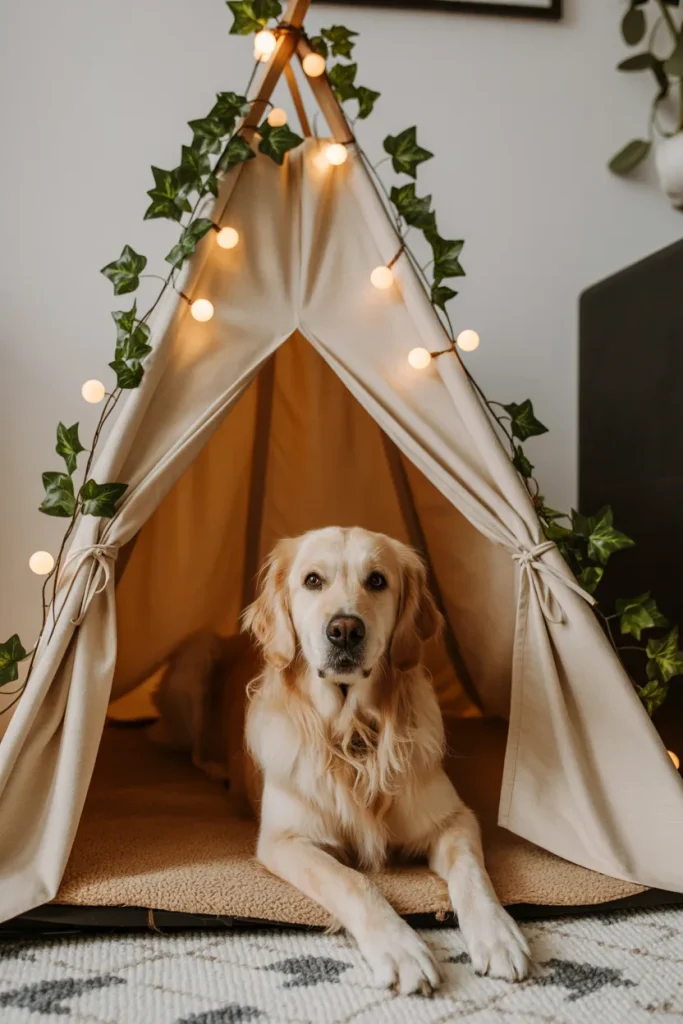
This project completely changed how my dog rested during noisy evenings. He started using the teepee during thunderstorms and fireworks because the enclosed setup made him feel secure.
Dogs naturally like den-style spaces because they create a sense of protection.
Materials & Tools
- Wooden dowels
- Canvas fabric
- Jute rope
- Artificial ivy
- LED fairy lights
- Cushion or folded blanket
Instructions
I tied the wooden dowels together at the top and spread them evenly to create the frame.
After attaching the fabric panels, I added warm LED lights and decorative ivy for a cozy look.
Inside, I placed a thick washable cushion that could be removed easily for cleaning.
Safety Advice
Always use low-heat LED lights around pets. Traditional string lights can become too warm in enclosed spaces.
#6: DIY Rubber Chew Toy With Bone Imprints (And It’s Easier Than You Think)
Aggressive chewers can destroy soft toys quickly, so I started experimenting with homemade silicone chew toys.
The textured surface helps keep dogs entertained longer because it gives them more resistance while chewing.
Materials
- Food-grade silicone
- Silicone-safe pigment
- Bone-shaped molds
- Mixing tools
- Cylindrical mold
Process
I poured the first silicone layer into the mold and added small bone details before filling the rest.
After curing, the toy became flexible but still durable enough for chewing.
One thing I noticed is that chilled silicone toys work especially well for teething puppies.
Pro Tip
Freeze the toy for 20 minutes before giving it to puppies with sore gums.
#7: Build a Cozy Outdoor Dog House With a Raised Bed Insert
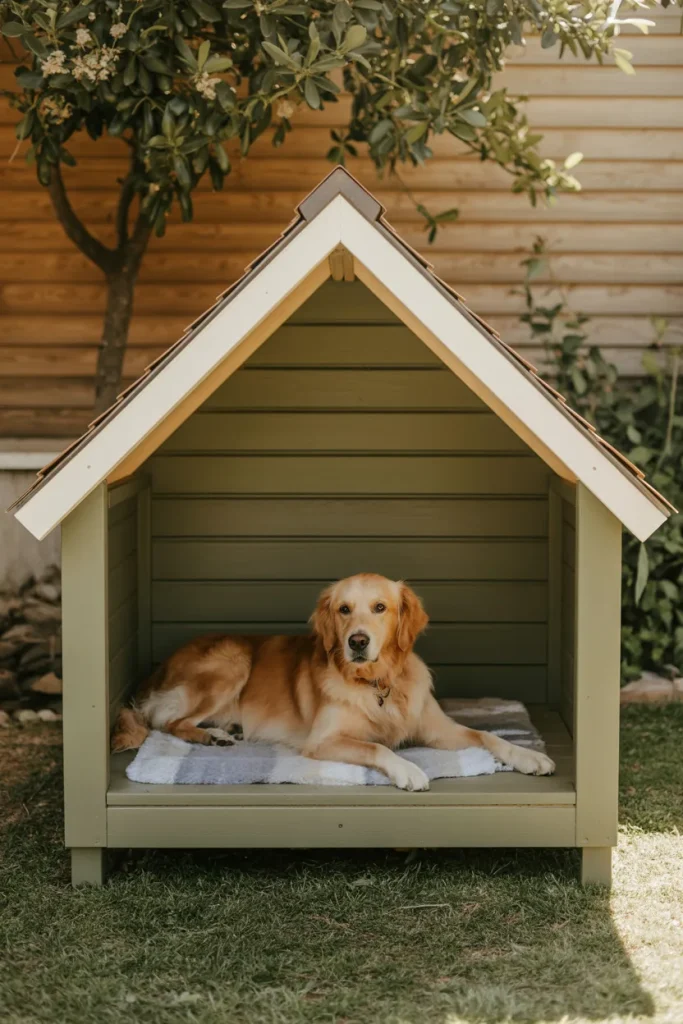
Outdoor dog houses often fail because they trap moisture and heat. I learned that after building one that became damp after every rainstorm.
The raised sleeping platform fixed that issue immediately.
Materials & Tools
- Plywood sheets
- 2×4 lumber
- Corrugated roofing
- Outdoor paint
- Cushion insert
- Drill and screws
Instructions
I built a simple rectangular structure with a slanted roof so rainwater could slide off easily.
Inside, I installed a raised wire platform beneath the cushion to improve airflow.
Positioning the dog house under partial shade also helped keep the inside cooler during summer afternoons.
Important Tip
Use exterior-grade paint and let it fully cure before allowing your dog inside. Fresh paint fumes can irritate sensitive dogs.
The One DIY Dog Mistake That’ll Cost You a Whole Weekend
The biggest mistake I made early on was ignoring durability.
I used untreated wood for one project because it looked natural and clean. Within weeks, muddy paws and drool caused swelling, stains, and odor buildup.
Now I always seal wooden surfaces first using pet-safe, water-based polyurethane.
Sanding between coats also matters more than people realize. Smooth surfaces are easier to clean and safer for paws.
Why DIY Dog Projects Are Actually Worth It
According to pet industry surveys, dog owners spend hundreds of dollars every year replacing damaged beds, toys, and accessories. Making even a few items yourself can cut those costs significantly.
But honestly, the biggest benefit for me wasn’t saving money.
It was creating things that actually fit my dog’s habits and my home at the same time.
Store products are designed for mass production. DIY projects let you customize everything from fabric choice to size, durability, and comfort level.
Final Thoughts
Dogs bring plenty of mess into a home, but they also make it feel more alive. These DIY dog projects helped me create spaces that work better for both of us without sacrificing comfort or style.
Start with one small project first, especially if you’re new to DIY work. A simple bed or toy can make a bigger difference than you’d expect.
And once your dog starts choosing their handmade bed over your couch, you’ll probably want to make another project right away.