Peanut Butter & Banana Dog Cookies Recipe (Easy & Healthy Treats)
Written By:
What I like most is that I control the ingredients. There are no artificial preservatives or fillers like many store-bought treats. Research shows homemade treats can reduce unnecessary additives by up to 30–40%, which makes a real difference in a dog’s long-term health.
Above the Fold Summary
These peanut butter and banana cookies are simple, healthy, and quick to make. I use oat flour, natural peanut butter, and ripe banana to create a balanced treat full of fiber, protein, and essential nutrients.
They take less than 30 minutes from start to finish and work well as training rewards, snacks, or meal toppers. When used in moderation, they fit easily into a healthy feeding routine.
Key Takeaways
I always use simple, dog-safe ingredients
Peanut butter adds protein and healthy fats
Bananas provide potassium and natural sweetness
Oat flour supports digestion and is gluten-free
Treats should stay under 10% of daily calories
These cookies can be stored in the fridge or freezer
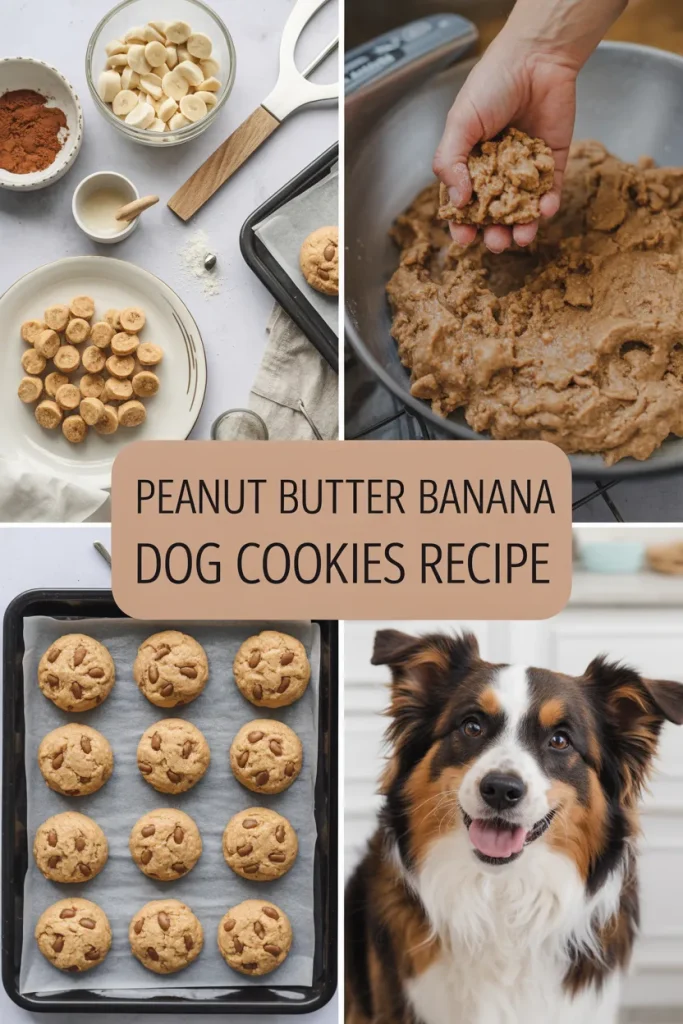
Ingredients: Simple, Nutritious, and Drool-Worthy
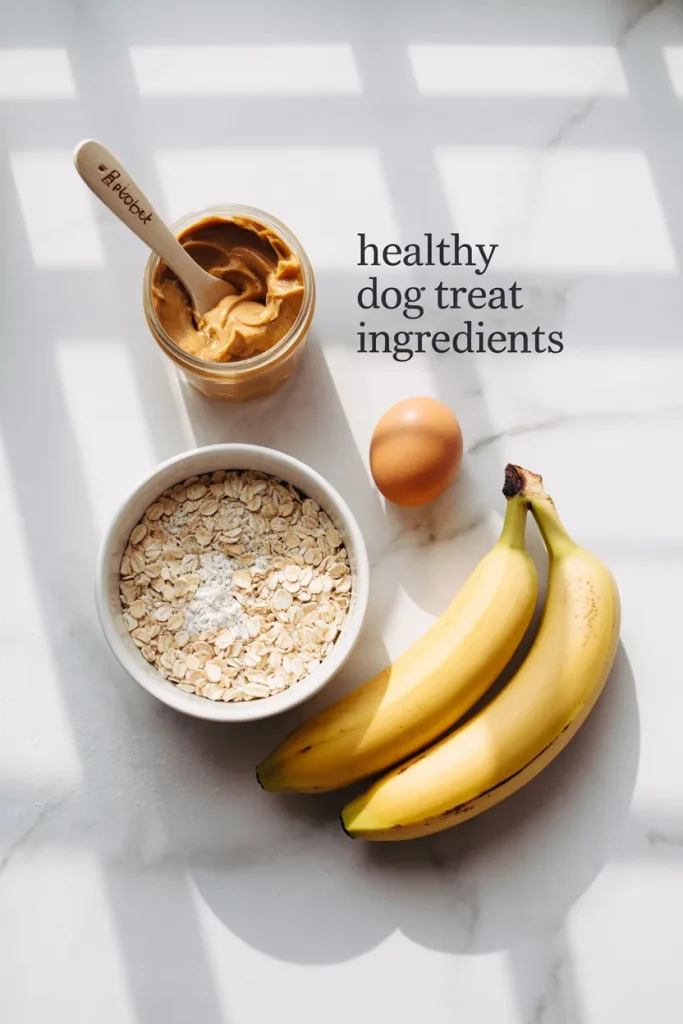
When I prepare these cookies, I focus on ingredients that are both safe and beneficial. Oat flour is my go-to because it’s easy to digest and works well for dogs with sensitive stomachs.
Natural peanut butter adds flavor and healthy fats, but I always check the label to make sure it doesn’t contain xylitol, which is harmful to dogs. The banana brings natural sweetness and nutrients like potassium, which supports muscle function.
Sometimes I add an egg for better texture and extra protein. From my experience, using ripe bananas improves both taste and consistency.
Instructions: Making Peanut Butter & Banana Cookies in 5 Easy Steps

Step 1: Preheat Your Oven
I start by preheating the oven to 175°C (350°F). This helps the cookies bake evenly. I also line a tray with parchment paper to avoid sticking and reduce cleanup time.
Step 2: Mix It Up
I combine oat flour, peanut butter, mashed banana, and egg in a bowl. I mix until it forms a thick dough. If the dough feels too sticky, I add more flour. If it’s dry, I add a small amount of water.
Step 3: Shape the Cookies
I take small portions of dough, roll them into balls, and flatten them slightly. Keeping the size consistent helps them bake properly and evenly.
Step 4: Bake
I bake the cookies for about 15–20 minutes until they turn lightly golden. Proper baking ensures the treats last longer and stay safe to eat.
Step 5: Cool and Serve
I always let the cookies cool completely before serving. This step is important to avoid burns and to allow the texture to firm up.
Why These Ingredients Are Perfect for Your Pup
From what I’ve seen, each ingredient plays a useful role. Oat flour provides fiber that supports digestion. Peanut butter delivers protein and healthy fats for energy.
Bananas add potassium, which helps with muscle and nerve function, especially in active dogs. Eggs, when used, improve both nutrition and structure. Balanced ingredients like these help maintain overall health without adding unnecessary calories.
Storing the Goodies
I usually store these cookies in an airtight container in the fridge, where they stay fresh for about a week. If I want to keep them longer, I freeze them for up to three months.
To make things easier, I store them in small portions so I can take out only what I need. This helps maintain freshness and avoids waste.
Serving Suggestions: Anytime, Anywhere
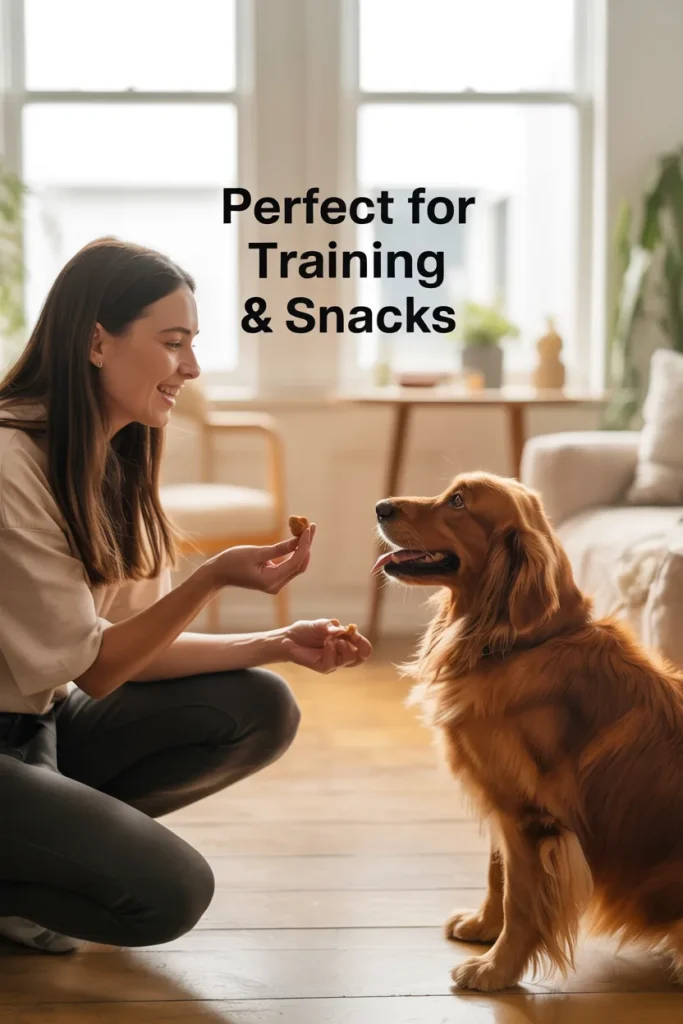
I use these cookies in different ways depending on the situation. For training, I break them into smaller pieces so my dog gets rewards without overeating.
As a snack, I give one between meals. Sometimes, I crumble a cookie over regular food to make meals more appealing. Keeping treats within 10% of daily calories is something I always follow to avoid weight gain.
FAQs
Q: Can I use a different flour?
Yes, I’ve tried rice flour and whole wheat flour. Just adjust the amount since different flours absorb moisture differently.
Q: My dog can’t have eggs—what can I use instead?
I use a flaxseed mix (1 tablespoon flaxseed with 3 tablespoons water). It works well as a replacement.
Q: How often can I give these treats?
I keep it moderate. Small dogs get one cookie, while larger dogs may have two or three depending on their size and activity level.
Q: Can I add anything else for extra flavor?
I sometimes add a small pinch of cinnamon or turmeric. Both can offer mild health benefits, but I keep the quantity low.
Q: Are these cookies safe for puppies?
Yes, but I introduce them slowly and in smaller pieces to make sure they digest well.
Q: What if my dog doesn’t like bananas?
I replace banana with pumpkin puree or unsweetened applesauce. Both options work well and maintain texture.
Q: How can I make these cookies crunchier?
I bake them a little longer or leave them in the oven after turning it off so they dry out more.
Final Thoughts

From my experience, these cookies are one of the easiest ways to give dogs a healthy homemade treat. They’re simple, affordable, and made with ingredients I trust.
I’ve noticed dogs respond better to fresh treats compared to packaged ones. More excitement, better engagement, and even improved training response.
If you want a quick and reliable dog treat recipe, this is one I always recommend starting with.