The Perfect Homemade 3-Ingredient Tortillas (So Easy!)
Store-bought tortillas are convenient, and we’ve all relied on them at some point. But the first time you cook a tortilla on your own skillet and taste it while it’s still warm, you immediately understand the difference. It’s softer, fresher, and has a clean flavor that doesn’t taste processed. Once you experience that straight-from-the-pan warmth, packaged tortillas start to feel like a compromise.
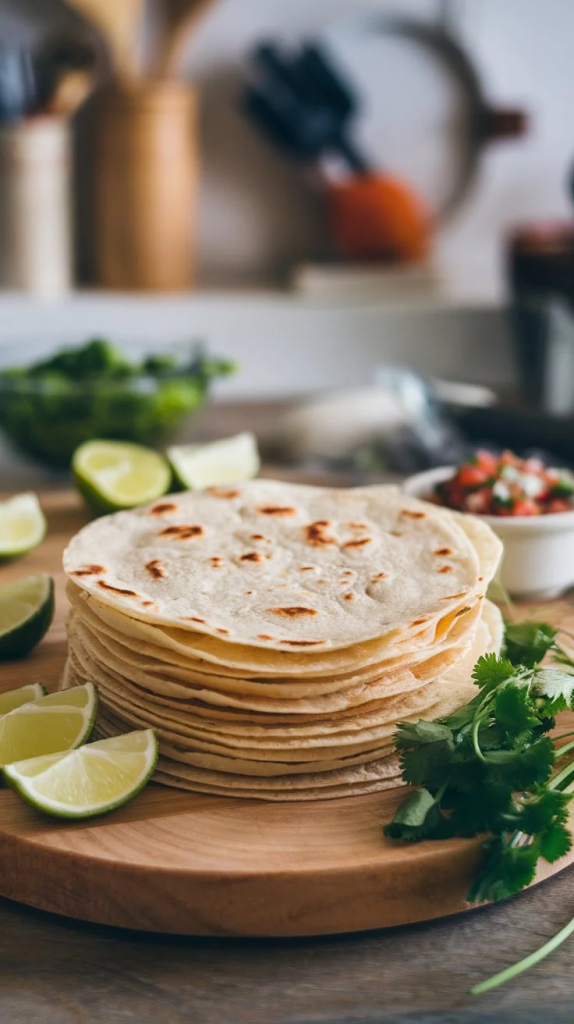
Homemade tortillas are tender, slightly chewy, and flexible without cracking. They fold beautifully around fillings and don’t tear apart when you load them up. The flavor is simple but real, and that simplicity is exactly what makes them so satisfying.
The best part is how incredibly easy they are to make. You only need three basic ingredients. No complicated steps. No special equipment. Just simple pantry staples and a few minutes of hands-on work.
Why Making Tortillas at Home Is Worth It
It might seem easier to grab a bag from the store, but homemade tortillas completely change the experience of your meals.
Better Flavor and Texture
When you make tortillas yourself, you control every ingredient. There are no preservatives or unnecessary additives. The result is a fresh, clean taste and a soft texture that store-bought versions rarely achieve. They stay pliable and warm, making every taco, wrap, or quesadilla taste better.
Incredible Versatility
Homemade tortillas work for:
- Tacos
- Quesadillas
- Burritos
- Wraps
- Flatbread-style sandwiches
- Dipping into sauces or guacamole
They’re strong enough to hold fillings yet soft enough to fold easily.
Budget-Friendly and Simple
You only need flour, water, and fat. That’s it. These are affordable staples most kitchens already have. A full batch costs very little and can feed the whole family.
Ingredients You’ll Need

Here’s everything required for soft, flexible flour tortillas:
- 2 cups all-purpose flour (or whole wheat for a deeper flavor)
- 3 tablespoons oil or fat (vegetable oil, melted coconut oil, or shortening)
- 2/3 cup warm water (adjust slightly if needed)
That short list is all it takes. No complicated additions. No unnecessary extras.
Kitchen Tools Required
You don’t need anything fancy, just basic kitchen equipment:
- Large mixing bowl
- Rolling pin (or a smooth bottle if needed)
- Flat skillet or griddle
- Clean kitchen towel
These simple tools are enough to produce perfectly cooked tortillas.
Step-by-Step Guide to Making Flour Tortillas

Step 1: Mix the Dough
Place the flour in a large bowl. If you prefer, add a small pinch of salt. Add the oil or chosen fat and mix it into the flour using your fingers until the mixture feels crumbly.
Slowly pour in the warm water while mixing. Keep stirring until the dough comes together. It should feel soft and smooth but not sticky. If it feels dry, add water a teaspoon at a time. If it feels too sticky, sprinkle in a bit more flour.
Step 2: Knead the Dough
Transfer the dough to a lightly floured surface. Knead it for about five minutes. Push it forward with the heel of your hand, fold it back, and repeat.
You’ll notice the dough becoming smoother and more elastic as you work it. When it feels soft and stretchy, cover it with a damp kitchen towel and let it rest for 20–30 minutes. This resting time relaxes the gluten and makes rolling much easier.
Step 3: Divide Into Portions
After resting, divide the dough into 8–10 equal pieces depending on your preferred tortilla size. Roll each piece into a ball.
Keep the dough balls covered with a towel to prevent them from drying out while you work.
Step 4: Roll Out the Tortillas
Take one dough ball and gently flatten it with your hand. Using a rolling pin, roll it into a thin circle about 1/8 inch thick.
The shape doesn’t need to be perfectly round. Focus more on even thickness so it cooks properly.
Step 5: Cook on a Hot Skillet
Heat a dry skillet or griddle over medium-high heat. Make sure it’s properly hot before placing the tortilla down.
Lay the rolled dough onto the skillet. Within 30–45 seconds, bubbles will form and light brown spots will appear on the bottom. Flip it and cook the other side for about 30 seconds more.
Remove the tortilla and place it under a clean towel to keep warm. Repeat the process with the remaining dough balls.
Step 6: Serve Warm
Serve the tortillas immediately while warm and soft. They’re perfect fresh off the skillet, whether filled with your favorite ingredients or simply enjoyed with a bit of butter.
Tips for Perfect Tortillas Every Time
Follow these practical tips for consistent results:
- Use warm water to help the dough come together smoothly
- Always let the dough rest to prevent shrinkage
- Make sure your skillet is hot before cooking
- Adjust flour or water slightly depending on humidity
- Roll thin for even cooking and better texture
Small adjustments can make a big difference in the final result.
Common Mistakes to Avoid
Even though this recipe is simple, a few mistakes can affect the outcome.
- Skipping kneading can result in stiff tortillas
- Overcooking makes them dry and brittle
- Rolling too thick leaves the center undercooked
- Leaving them uncovered causes them to harden
Pay attention to these details, and your tortillas will stay soft and flexible.
How to Store and Reheat Homemade Tortillas
If you have leftovers, let them cool completely before storing.
Place them in a sealed zip-top bag or airtight container. They can stay at room temperature for 1–2 days or in the refrigerator for up to a week.
To reheat:
- Warm on a hot skillet for 10–15 seconds per side
- Wrap in foil and heat briefly in the oven
Reheating restores their softness and makes them taste freshly made again.
Conclusion of Homemade 3-Ingredient Tortillas
Making flour tortillas at home might seem unfamiliar at first, but after one batch, it feels natural. The process is simple, the ingredients are minimal, and the flavor is unmatched. Fresh, warm, and flexible tortillas straight from your skillet elevate any meal.
When you realize how easy and affordable it is, store-bought tortillas stop being the first option. Homemade becomes the standard.