
Quick and Easy DIY Dog Clothes to Keep Your Pup Warm
Written By:

Keeping my dog comfortable during cold or rainy weather has always been a priority. After spending years buying sweaters and jackets that either didn’t fit properly or wore out quickly, I started making my own dog clothes. What surprised me most was how simple many projects were, even with basic sewing skills.
The best part about DIY dog clothing is that I can customize every piece to fit my dog perfectly. Whether it’s a warm winter coat, a waterproof rainsuit, or a cute sweater for special occasions, homemade dog clothes often cost far less than store-bought alternatives while offering better comfort.
In this guide, I’m sharing my favorite DIY dog clothing projects that are practical, comfortable, and beginner-friendly. These ideas can help keep your pup warm, dry, and stylish throughout the year.
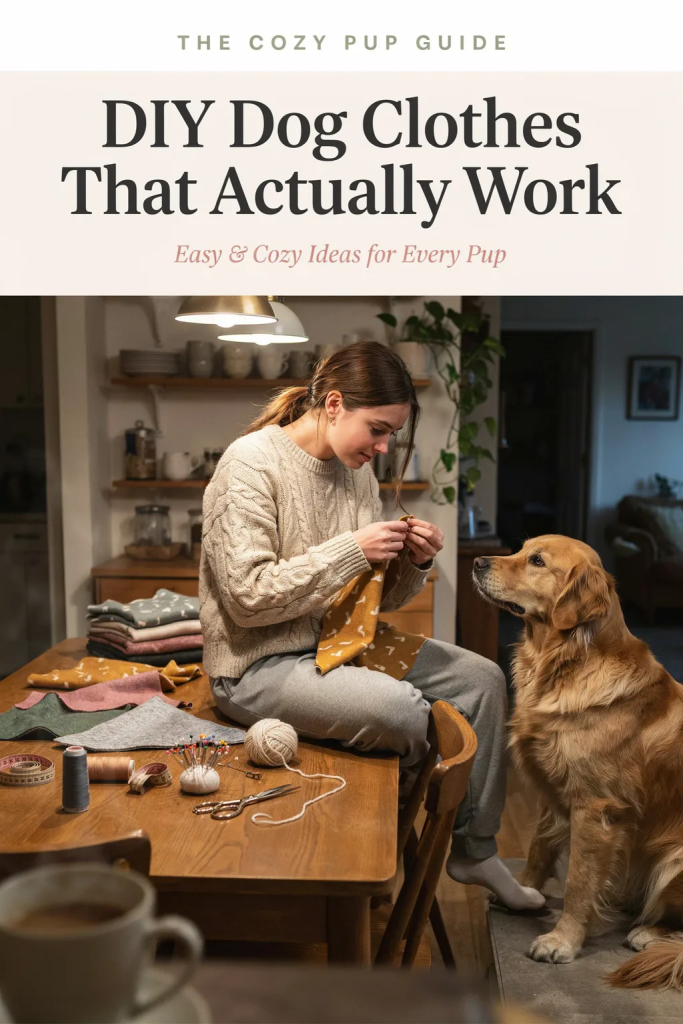
What You’ll Learn in This Article
This guide covers simple DIY dog clothing ideas for different weather conditions and occasions. You’ll learn how to create insulated coats, waterproof rainsuits, holiday outfits, knitted sweaters, and matching accessories. I’ll also share important measuring tips that can help you avoid common fitting mistakes.
Key Takeaways
- Proper measurements are the foundation of every successful dog clothing project.
- Quilted fabrics and fleece linings provide excellent insulation during colder months.
- Waterproof materials can help reduce mud and moisture after outdoor adventures.
- Soft knit fabrics offer flexibility and comfort for everyday wear.
- Testing patterns with inexpensive fabric first can save time and money.
- A well-fitted outfit allows full movement without rubbing or restricting your dog’s legs.
#1: DIY Quilted Dog Coat (No-Sew Version That Actually Looks Good)
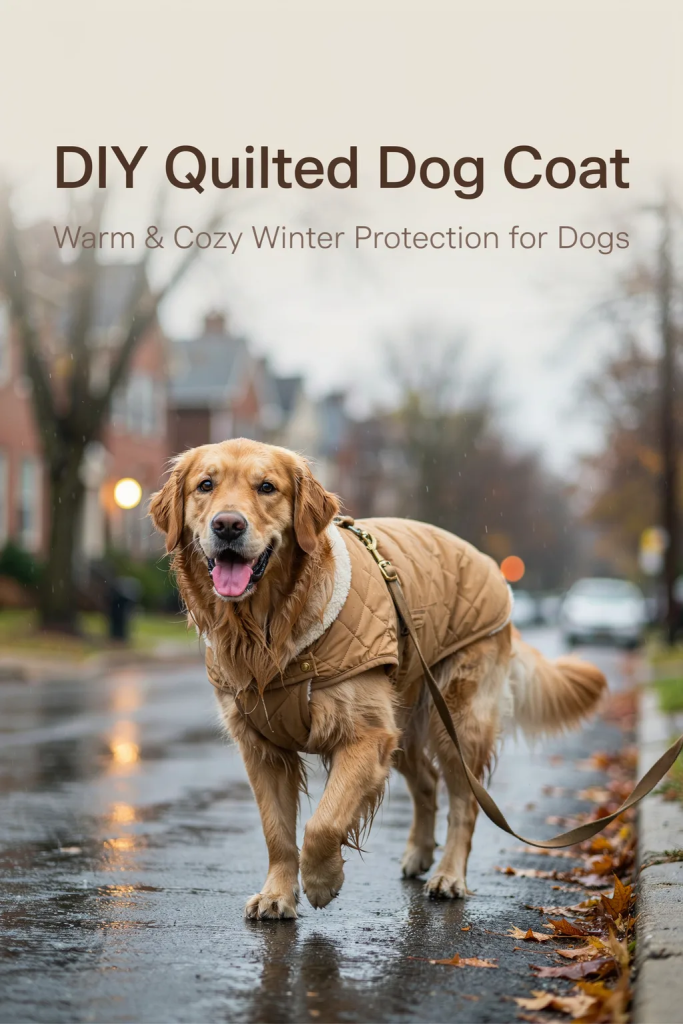
When temperatures start dropping, I always reach for a quilted coat design. It’s one of the easiest ways to add warmth without making my dog feel bulky or uncomfortable.
What I like most about this project is that it combines insulation with a lightweight design. According to veterinary experts, smaller dogs, senior dogs, and short-coated breeds often benefit from additional protection when temperatures fall below 45°F (7°C).
Prep Time: 20 Minutes
Project Time: 1.5 Hours
Difficulty: Intermediate
Materials & Tools
- ½ yard quilted cotton fabric
- ½ yard fleece fabric
- Fabric scissors
- Washable fabric marker
- Velcro strips
- Sewing machine or fabric adhesive
- Measuring tape
Instructions
I always start by measuring my dog’s back length, chest circumference, and neck size. Accurate measurements make the difference between a coat that stays in place and one that constantly shifts during walks.
Next, I cut the outer quilted fabric into a simple coat shape that covers the back while allowing freedom around the legs. I then cut matching fleece pieces for the lining.
After placing the fleece and quilted fabric together, I secure the edges with stitching or fabric glue. The fleece creates an insulating layer that helps retain body heat during colder weather.
For the collar, I attach a separate fabric strip around the neckline. This added coverage helps protect the neck area from wind and light rain.
Finally, I install adjustable Velcro straps around the chest and belly. A slightly snug fit keeps the coat from sliding while still allowing natural movement.
Pro Tip
Before cutting your final fabric, create a quick test pattern using an old bedsheet or inexpensive muslin. This simple step can prevent costly mistakes and helps achieve a better fit on the first attempt.
#2: DIY Full-Body Rainsuit for Dogs (The “No Muddy Mess” Outdoor Jacket Set)
Few things create more cleanup than a wet dog running through the house after a rainy walk. That’s exactly why I started experimenting with waterproof dog clothing.
A full-body rainsuit can significantly reduce the amount of water, dirt, and mud that reaches your dog’s coat. It won’t eliminate cleanup completely, but it can make a noticeable difference.
Prep Time: 30 Minutes
Project Time: 3–4 Hours
Difficulty: Intermediate
Materials & Tools You’ll Need
- Ripstop nylon fabric
- Waterproof zipper
- Reflective tape
- Adjustable buckles
- Velcro strips
- Heavy-duty sewing needle
- Waterproof seam sealer
- Measuring tape
Instructions
I begin by measuring my dog’s neck, chest, back length, and leg circumference. These measurements determine the size of every pattern piece.
The main body section is cut from waterproof ripstop nylon. This material is popular in outdoor gear because it’s lightweight, durable, and resistant to tearing.
I sew the leg panels separately before attaching them to the body. Taking time to pin everything properly helps prevent uneven seams and improves the final fit.
Once the body is assembled, I install a waterproof zipper along the back. Positioning the zipper on top helps reduce water entry during rain.
For added safety, I attach reflective strips around the lower sections of the suit. Reflective materials can improve visibility during early morning or evening walks.
After sewing is complete, I apply waterproof seam sealer to every stitched area. This extra step helps maintain water resistance and improves long-term performance.
Pro Tip
Allow the seam sealer to cure fully before first use. Skipping this waiting period can reduce waterproof protection and shorten the lifespan of the rainsuit.
#3: DIY Reindeer Harness Vest With Turtleneck Sweater
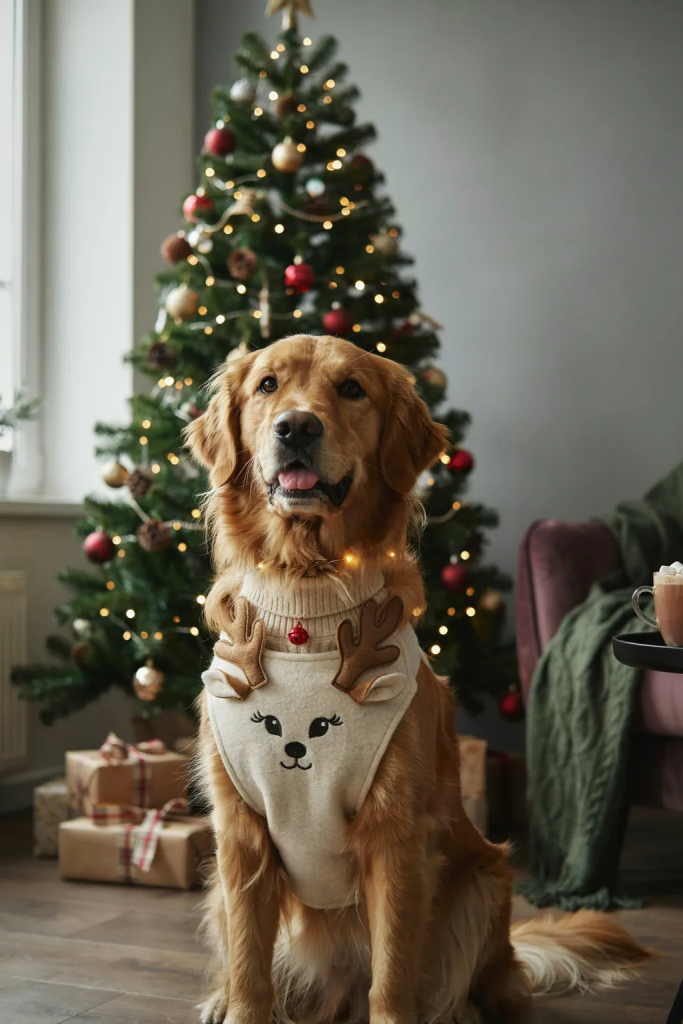
Holiday outfits are some of my favorite DIY projects because they combine warmth with personality. This reindeer-themed sweater vest adds seasonal style while still being functional enough for everyday winter wear.
Prep Time: 20 Minutes
Project Time: 2–3 Hours
Difficulty: Intermediate
Materials & Tools You’ll Need
- White canvas or felt fabric
- Ribbed knit fabric
- Faux leather trim
- Reindeer patch or fabric paint
- D-ring
- Adjustable buckle
- Fabric scissors
- Sewing machine
- Measuring tape
Instructions
I first measure the neck and chest to ensure the sweater section fits comfortably. Dogs should be able to move, sit, and lie down without restriction.
The sweater body is created from ribbed knit fabric, which naturally stretches and adapts to movement. This flexibility makes it ideal for active dogs.
For the decorative front panel, I cut a bib shape from canvas fabric and add the reindeer design using fabric paint or an iron-on patch.
Once the decoration is complete, I reinforce the edges with faux leather trim. Besides improving appearance, this helps the fabric maintain its shape over time.
The harness hardware is attached securely to the chest section, allowing the vest to serve both as clothing and a lightweight walking accessory.
Pro Tip
If you’re working with knit fabric, placing it in the freezer for a few minutes before cutting can make it easier to handle and reduce curling edges.
#4: DIY Pink Pom-Pom Hoodie Dress for Small Dogs
This hoodie dress is one of those projects I tried after seeing how hard it is to find properly fitting clothes for smaller dogs. Even though I usually sew for medium-sized dogs, I’ve made a few versions for friends with small breeds, and fit is always the main issue.
This design focuses on warmth and coverage while still allowing easy movement. The hoodie and pom-poms are decorative, but the knitted structure does provide real insulation.
Prep Time: 30 Minutes
Project Time: 6–8 Hours
Difficulty: Intermediate
Materials & Tools
- Bulky pink yarn
- 5mm knitting needles
- Yarn needle
- Scissors
- Measuring tape
- Cardboard for pom-poms
Instructions
I always begin with accurate neck and chest measurements before casting on. This avoids sizing problems later.
The hoodie is shaped first with gradual decreases so it forms a smooth curve and sits properly on the head.
The body is knitted downward with small increases around the chest so the dog can move comfortably.
Pom-poms are made separately using wrapped yarn on cardboard. I always double-knot the center because loose ties can come undone over time.
Everything is stitched together carefully so the weight is evenly balanced on the body.
Pro Tip
Keep pom-poms lightweight so they don’t pull the hood backward during movement.
#5: DIY Chanel-Inspired Tweed Dog Dress With Faux Fur Collar
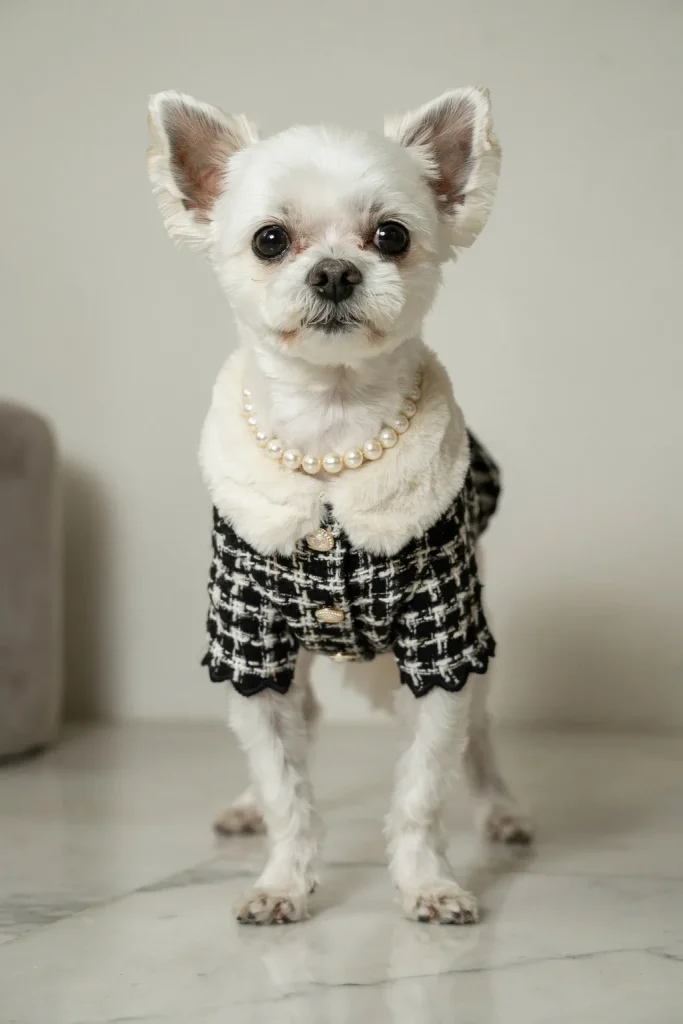
This is one of the most polished DIY outfits I’ve made. It looks stylish but still works as a practical wearable piece if constructed properly.
The key is balancing structure and comfort so the dog can move freely while still looking dressed up.
Prep Time: 20 Minutes
Project Time: 2–3 Hours
Difficulty: Intermediate
Materials & Tools
- Tweed fabric
- Faux fur
- Pearl string
- Ribbon
- Snap buttons or Velcro
- Measuring tape
- Sewing kit
Instructions
I start by drafting a simple A-line shape based on the dog’s back and chest measurements. This ensures freedom of movement in the legs.
The faux fur collar is added around the neck to reduce irritation from rough fabric.
A ribbon bow on the back adds a finishing detail without making the outfit bulky.
I prefer snap buttons because they make dressing faster and easier.
Pearl accents are optional but add a soft, elegant finish.
Pro Tip
Always reinforce tweed seams because the fabric can fray quickly after washing.
#6: Cozy Cable-Knit Dog Sweater
Cable-knit sweaters are practical because they provide warmth while still stretching with movement. I’ve seen a noticeable difference in how comfortable dogs are during cold walks when wearing properly fitted knitwear.
Prep Time: 20 Minutes
Project Time: 6–8 Hours
Difficulty: Intermediate
Materials & Tools
- Merino wool yarn
- 4mm knitting needles
- Stitch markers
- Yarn needle
- Measuring tape
Instructions
I start with a ribbed neckline to ensure a snug but comfortable fit.
The cable pattern is worked slowly down the body to create insulation without stiffness.
Armholes are shaped carefully to prevent pulling near the shoulders.
Seams are finished with mattress stitch so there’s no rubbing on the dog’s skin.
Blocking the sweater at the end helps improve shape and softness.
Pro Tip
Always make a gauge swatch before starting to avoid sizing errors.
#7: Pink Knit Dog Sweater and Bandana DIY Set
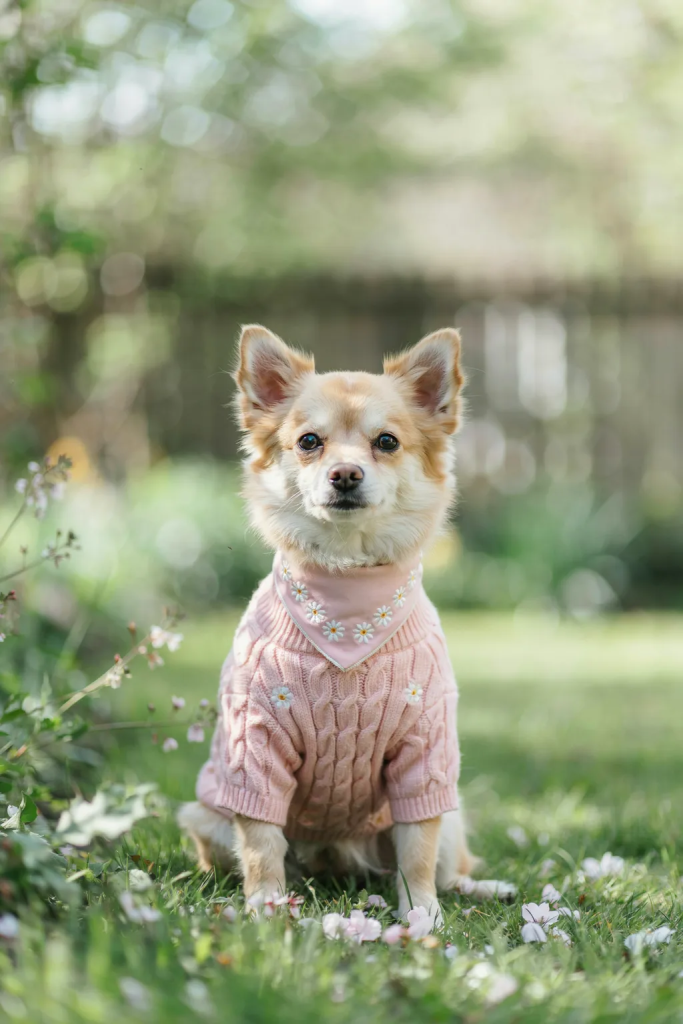
This matching set is one of my favorite projects because it’s simple but looks complete when finished. I’ve made similar sets for friends, and the comfort level is much better than most store-bought outfits.
Prep Time: 30 Minutes
Project Time: 3–4 Hours
Difficulty: Intermediate
Materials & Tools
- Soft pink yarn
- Knitting needles
- Ribbon
- Daisy appliqués
- Yarn needle
- Measuring tape
Instructions
I start with a ribbed sweater base that adjusts easily to chest size.
The bandana is knitted separately in a triangle shape using gradual increases and decreases.
Decorative daisies are added after blocking so they stay secure.
A ribbon detail at the neckline helps adjust fit and adds softness.
Pro Tip
Keep all accessories lightweight so they don’t bother the dog during movement.
The One Measurement Mistake That Ruins Every DIY Dog Outfit
The most common mistake I see is measuring a dog while sitting or lying down. I always measure while the dog is standing naturally.
Another issue is measuring across the front legs instead of behind them, which often leads to tight or uneven fits.
I also recommend making a test version using cheap fabric before cutting final materials. This step has saved me from wasted projects many times.
Stretch fabrics are more forgiving, while stiff fabrics need more precise measurement.
Conclusion
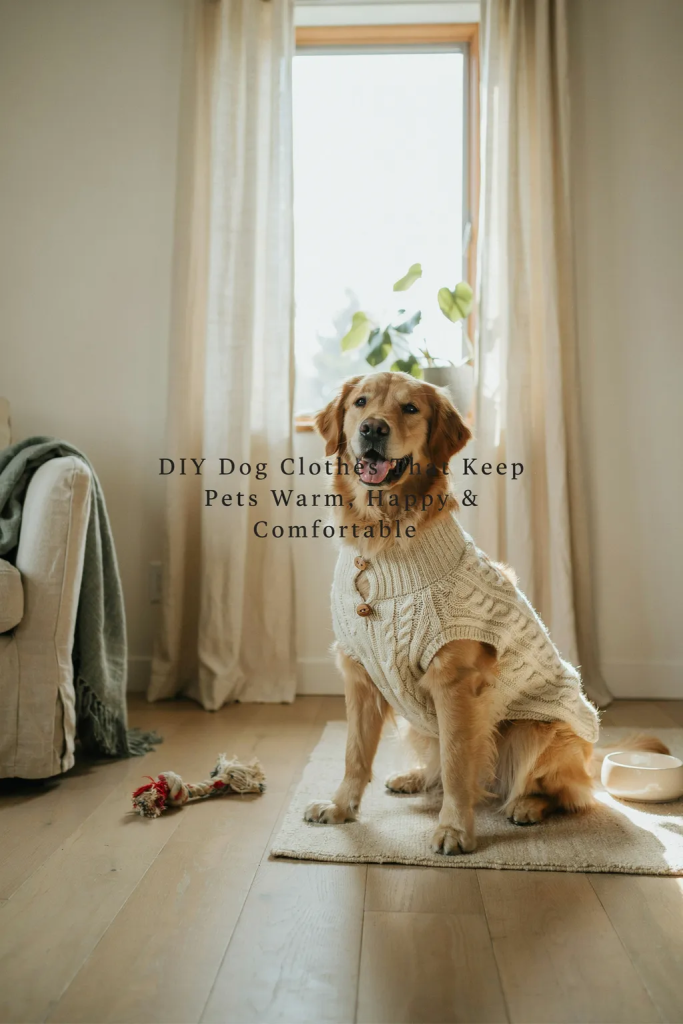
From my experience, comfort always matters more than appearance when making dog clothes. A well-fitted outfit keeps dogs warm and happy without restricting movement.
Simple fabrics like fleece, knit, and ripstop nylon are more than enough for most DIY projects if used correctly.
The biggest difference comes from proper measuring and testing before final stitching.


