Peanut Butter Dog Training Treats: Quick & Easy
If you’ve ever wondered how to get your puppy to actually pay attention, here’s the truth—it’s not about using the fanciest training techniques or memorizing complicated commands. Puppies respond best to motivation, and there’s one thing that can instantly capture their focus: treats. And not just any treats—peanut butter treats are a tried-and-true favorite for dogs of all sizes and breeds.
Instead of spending money on store-bought training treats that often contain unpronounceable ingredients and preservatives, you can make a simple batch at home that’s both delicious and healthy. These homemade treats will have your puppy eagerly waiting for every command, making training a smoother and more enjoyable experience for both of you.
Why Homemade Dog Treats Are the Best Choice

You Control Every Ingredient
When you make treats yourself, you know exactly what’s going into them. That means no artificial preservatives, no unnecessary fillers, and no hidden sugars. You can confidently hand a treat to your puppy knowing it’s safe, nutritious, and made with love.
Budget-Friendly and Cost-Effective
Store-bought treats can get expensive, especially if you’re going through them quickly during training sessions. Making your own treats at home is much more economical. You can prepare a batch that lasts weeks for the cost of just a few dollars, and your pup will be none the wiser.
Customizable for Allergies and Preferences
Every dog is unique, and some have specific dietary needs or sensitivities. Homemade treats allow you to swap ingredients easily, whether it’s using oat flour for a gluten-free option or avoiding certain flavors your dog doesn’t tolerate well.
Simple and Stress-Free
Even if you’re not confident in the kitchen, these treats are incredibly easy to make. You don’t need fancy equipment or professional skills—just a few ingredients and a little time. If you can mix, roll, and bake, you can make these treats.
Ingredients You’ll Need (Just Four, Seriously)
- Peanut Butter (1 Cup): Make sure it’s xylitol-free, as xylitol is toxic to dogs. Opt for natural peanut butter with no added sugar or salt.
- Whole Wheat Flour (2 Cups): You can substitute with oat flour if your dog needs a gluten-free option.
- Egg (1 Large): This acts as a binder for the dough. If you don’t have eggs, unsweetened applesauce works perfectly as a replacement.
- Water (Up to 1/2 Cup): Add gradually to achieve the perfect dough consistency—not too sticky, not too dry.
Step-by-Step Instructions for Perfect Peanut Butter Dog Treats
Preheat Your Oven
Start by setting your oven to 350°F (175°C). The aroma of peanut butter baking will fill your kitchen and instantly make you and your dog excited.
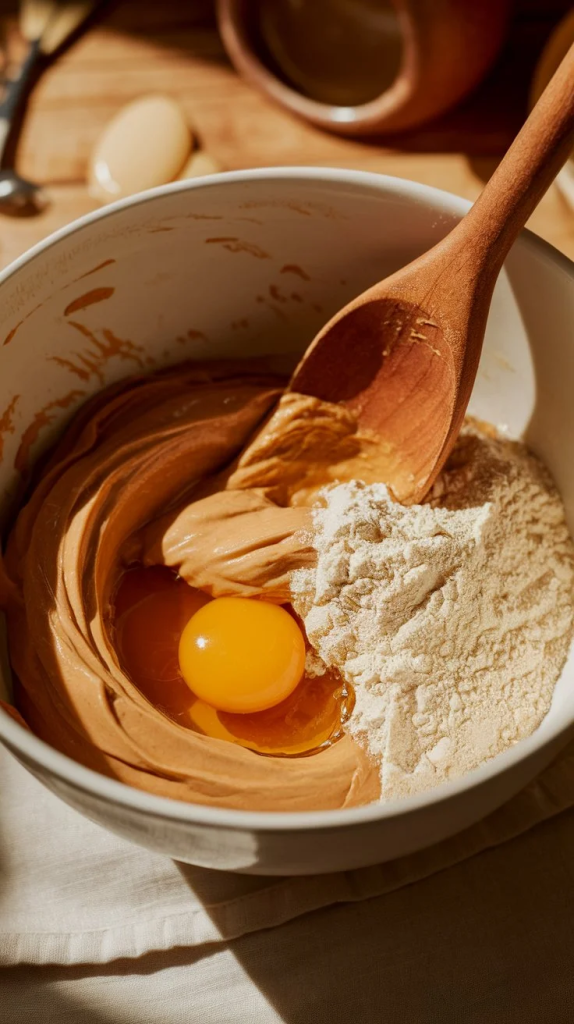
Mix the Ingredients
In a medium bowl, combine the peanut butter, flour, and egg. Slowly add water, a little at a time, until the dough is firm but pliable. Knead it gently with your hands to ensure everything is thoroughly combined. This step is key to creating a consistent dough that’s easy to roll and cut.
Roll and Cut the Dough
Dust your surface lightly with flour and roll out the dough to about 1/4 inch thick. Use a small cookie cutter—bone-shaped, star-shaped, or simple squares work perfectly. Remember, these are training treats, so smaller pieces are ideal. Puppies can eat them quickly, and you can give more without worrying about overfeeding.
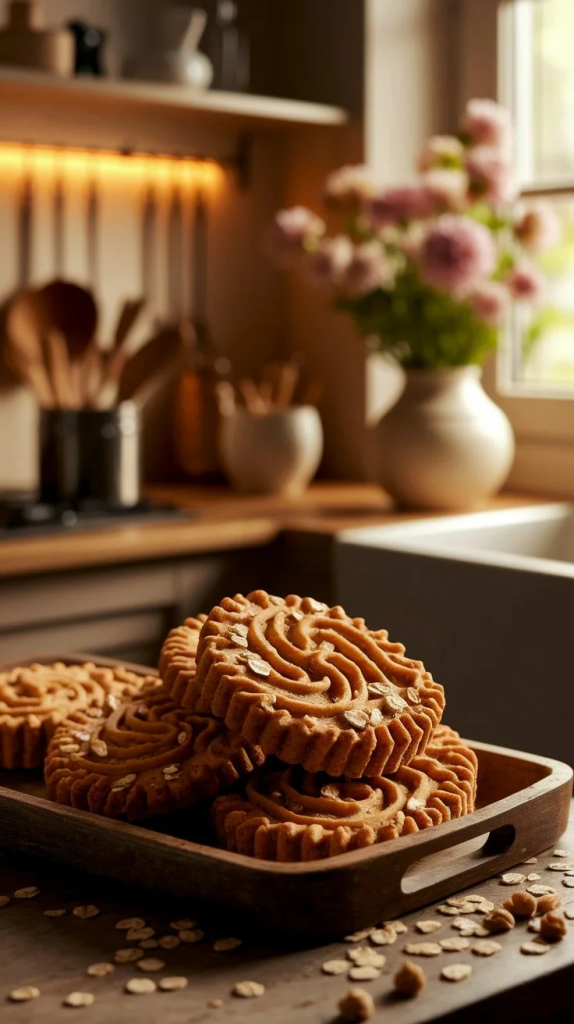
Bake to Perfection
Place the treats on a parchment-lined baking sheet and bake for 15–20 minutes, or until they are golden brown and slightly crisp. If your dog prefers softer treats, reduce the baking time slightly. The smell alone is enough to make your pup’s tail wag uncontrollably.
Cool Completely Before Serving
Allow the treats to cool fully before offering them to your dog. Hot treats can burn your puppy’s mouth, so patience here ensures safety.
How to Store Your Peanut Butter Dog Treats
- Room Temperature: Keep in an airtight container for up to one week.
- Refrigerator: Store in a sealed container for up to two weeks.
- Freezer: Freeze extras for up to three months. Just thaw before serving, and your dog won’t notice a difference.
Bonus Tips to Make These Treats Even Better
Allergy-Friendly Options
If your dog has gluten sensitivities, swap whole wheat flour with oat flour. You can also experiment with other safe flours depending on your dog’s needs.
Add a Flavor Twist
Mix in a small amount of plain pumpkin puree or a dash of cinnamon for extra taste. Avoid sweetened or spiced pumpkin pie filling—it’s not safe for dogs.
Adjust the Size
For small breeds, cut the treats smaller to make training easier. Larger dogs can handle slightly bigger pieces, but the goal is always bite-sized treats for quick rewards during training.
Why These Treats Are Ideal for Training
When choosing training treats, you want them to be:
- Small: You’ll likely give many in one session.
- Tasty: Your dog should genuinely want each treat.
- Healthy: Since treats are frequent during training, they should be safe and nutritious.
These peanut butter treats meet all those criteria. They are small, easy to eat, delicious, and made from ingredients that are safe for dogs, making them perfect for reinforcing good behavior.
Be Your Dog’s Hero (One Treat at a Time)
With this simple, affordable, and irresistible peanut butter treat recipe, you’re fully equipped to make training a positive experience for your puppy. Your dog will pay attention, follow commands, and happily engage in each training session. Each treat becomes a small reward that strengthens your bond and encourages good behavior. Sit? Stay? Roll over? All achievable when paired with these tasty, homemade rewards.