“Easy Banana Dog Treat Recipe: Healthy 2-Ingredient Homemade Dog Snacks”
Written By:
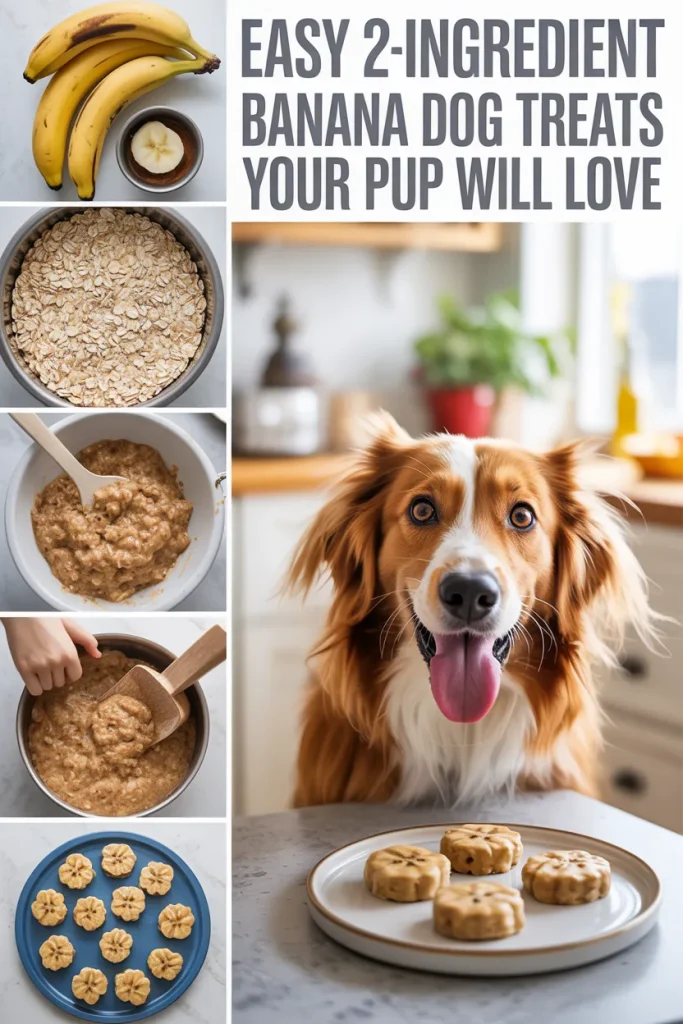
If you’re like me, you want the best for your dog without spending a fortune or buying treats filled with mystery ingredients. That’s why I love making a simple banana dog treat at home. Using just ripe bananas and oats, these treats are healthy, easy to make, and loved by dogs of all sizes. In this guide, I’ll walk you through the process step by step, share optional add-ins, storage tips, and answer the most common questions. By the end, you’ll see how easy it is to spoil your pup naturally.
Key Takeaways:
- Only two main ingredients: banana and oats.
- Optional dog-safe add-ins like peanut butter or pumpkin can enhance flavor.
- Simple storage options: room temperature, fridge, or freezer.
- Safe for most dogs and suitable for sensitive stomachs.
Why DIY?
I know it’s tempting to grab a bag of store-bought treats, but making a banana dog treat at home comes with real benefits:
- No preservatives: Store-bought treats often contain additives your dog doesn’t need. With this recipe, every bite is natural.
- Allergy-friendly: Sensitive pups can enjoy these without stomach upset.
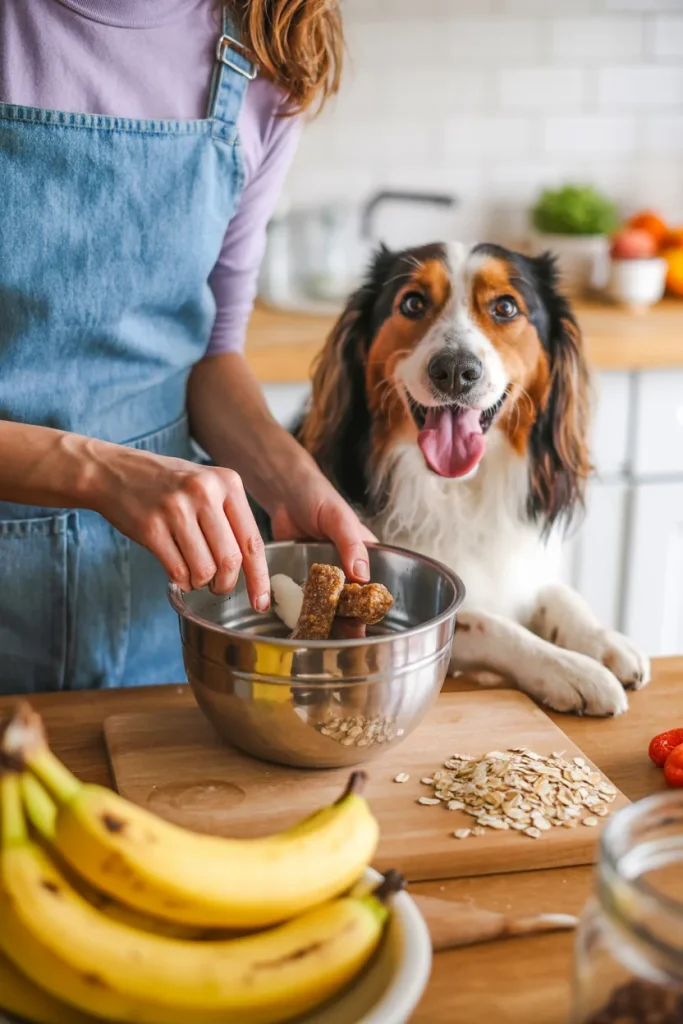
- Bonding: Preparing treats gives me a sense of connection with my dog—it’s like giving them a little gift from the heart.
- Budget-friendly: I usually have bananas on the verge of going brown, so nothing goes to waste.
Making treats myself has honestly saved me money and stress, and the joy my dog shows makes it worth every second.
Ingredients (Yes, Just Two)
For this simple recipe, I keep it minimal:
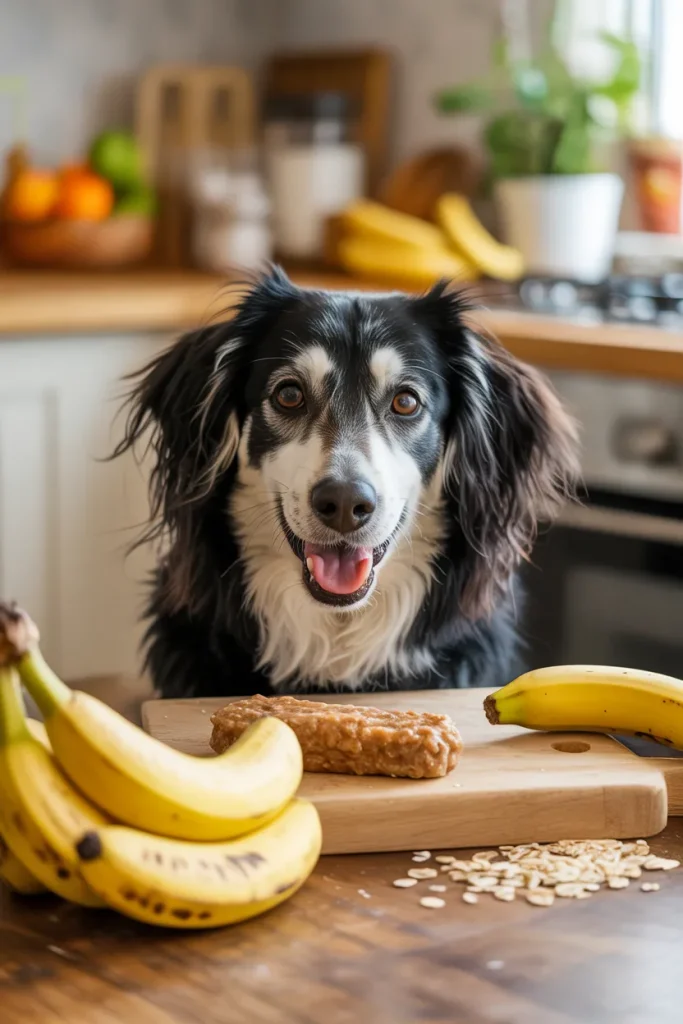
- 1 ripe banana – the sweeter and softer, the better. Spotty bananas are perfect.
- 1 cup oats – old-fashioned or quick oats both work.
That’s it! No eggs, no flour, just pure, safe ingredients. Pro tip: ripe bananas not only add sweetness but also bind the oats naturally, eliminating the need for extra binders.
How to Make These Treats

1. Preheat Your Oven to 350°F (175°C)
Always start by preheating the oven. It ensures even cooking, which helps the banana dog treat hold its shape and get that perfect texture.
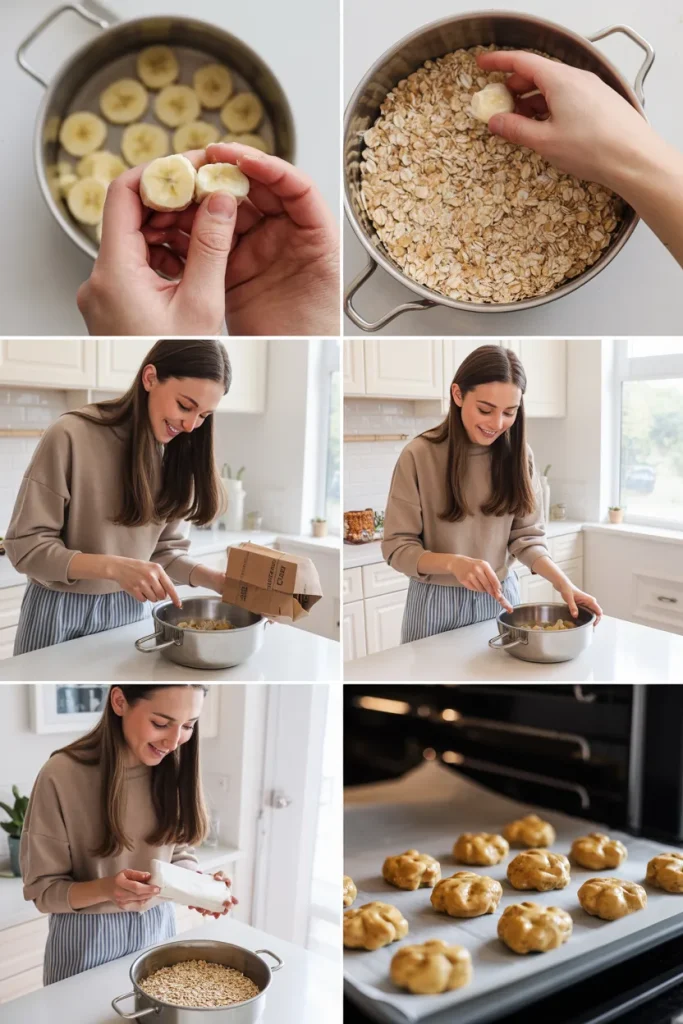
2. Mash the Banana Like Your Life Depends on It
Use a fork to mash the banana until it’s smooth. I aim for a texture like baby food. This makes mixing easier and ensures every bite is consistent.
3. Mix the Oats and Banana
Combine the mashed banana with the oats in a bowl. The mixture will be sticky, similar to cookie dough. If it feels too wet, add a little more oats. A handy tip: I use a silicone spatula to scrape the sides—it prevents waste and keeps the mixture manageable.
4. Shape into Treats
I usually roll small portions into balls or flatten them into discs. For extra fun, I sometimes use cookie cutters—my dog doesn’t care about shapes, but it makes the process enjoyable for me.
5. Bake for 15–20 Minutes
Bake until golden brown. Shorter baking gives a chewy treat, while longer baking creates a crunchy snack. For small dogs, I prefer slightly softer treats for easy chewing.
6. Let Them Cool
Cooling is key. If you give them straight from the oven, your dog might get confused—or worse, burn their tongue. I always wait at least 15 minutes before serving.
Optional Add-Ins
I sometimes like to mix things up with safe add-ins:
- Peanut butter – ensure it’s xylitol-free. Dogs love it.
- Pumpkin purée – adds fiber and a natural sweetness.
- Cinnamon – just a pinch for extra flavor.
- Shredded carrots – adds nutrients and a nice crunch.
Remember, these treats are already delicious on their own. Optional ingredients are just a fun bonus.
How to Store These Treats
- Room Temperature: Airtight container for up to 3 days.
- Fridge: Lasts about a week.
- Freezer: Up to 3 months. Thaw before serving.
Pro tip: I often make a batch and freeze half. That way, I always have healthy snacks on hand without worrying about spoilage.